When you sign a contract or other document in ink, you probably don’t expect that your signature will expire in a year, or that it could be revoked at a moment’s notice. But what happens when a document signing certificate expires or is revoked?
The answer to this problem is long-term validation (LTV). By including all necessary information about the status of your certificate and its chain of trust at the time of signing, LTV allows your digital signatures to live on long after your original signing certificate has expired.
In this how-to, we will cover configuring Adobe Acrobat (or Acrobat Reader) to create LTV enabled signatures, checking the LTV status of a signature, and enabling LTV for existing signatures. (If you need help with digitally signing a PDF in the first place, please read this how-to first.)
Configure Signature Preferences and Time Stamp Server
-
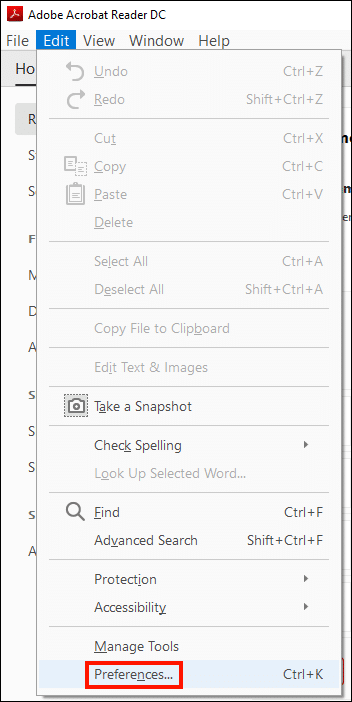
LTV requires that signatures are time stamped and include all necessary revocation information. First, open the application Preferences.

-
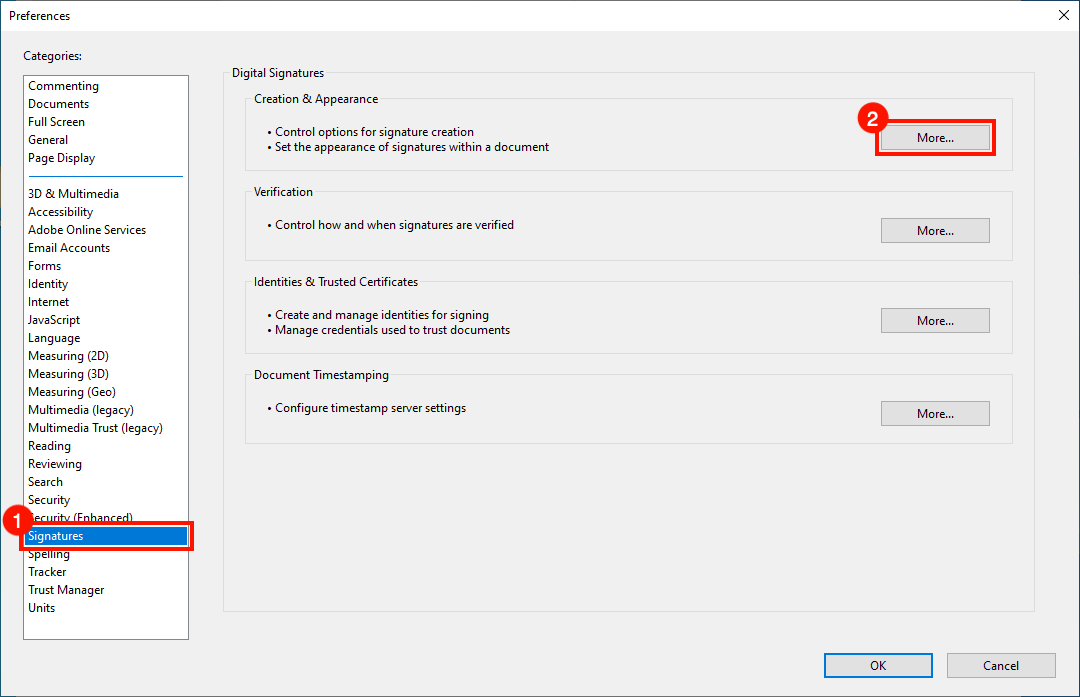
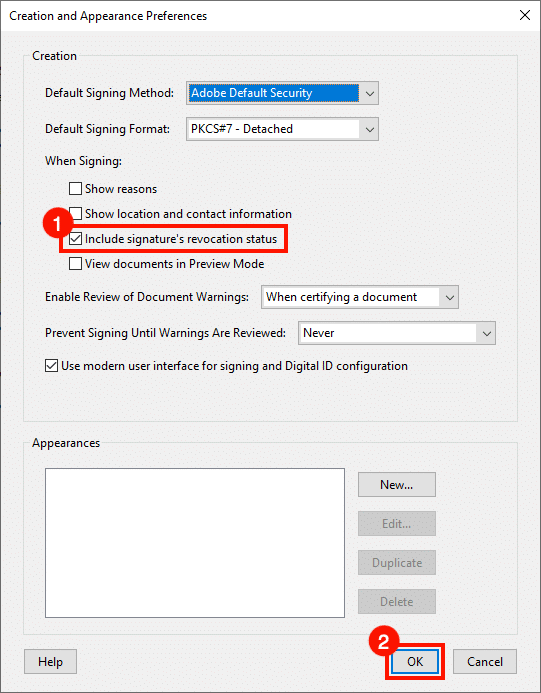
Make sure the check-box labeled Include signature’s revocation status is checked, then click the OK button to close the dialog box.

-
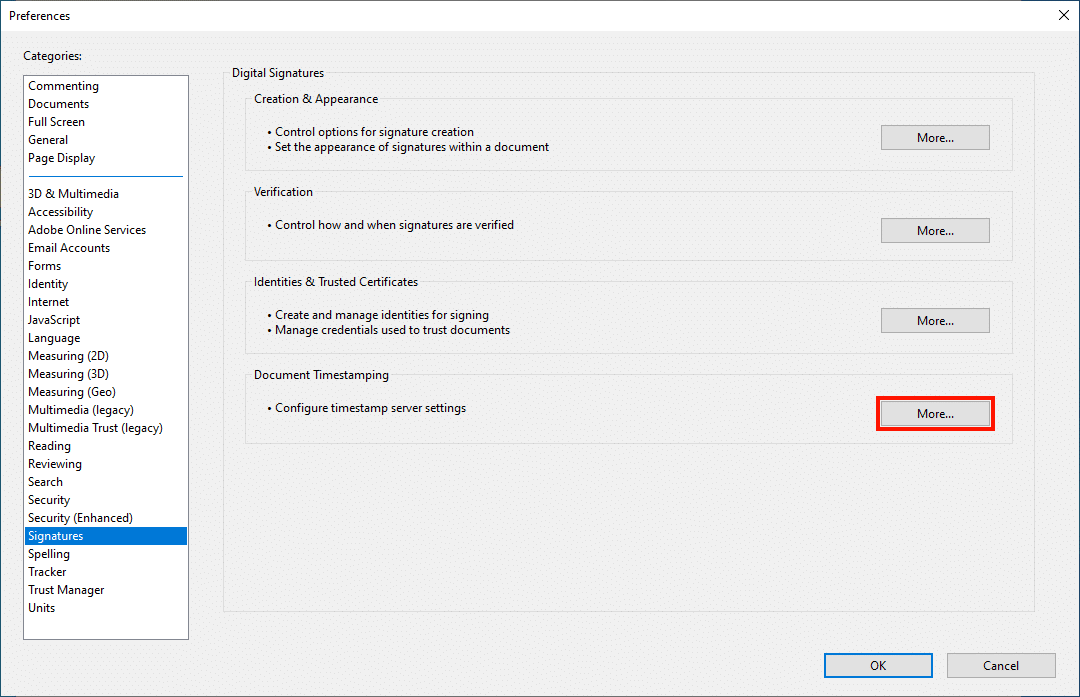
Now we will configure the time stamp server. With the Signatures preferences still open, click the More button, under Document Timestamping.
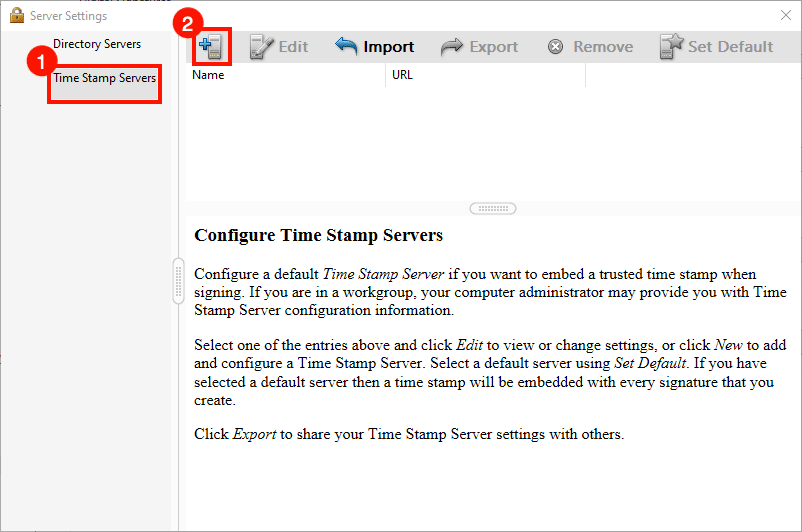
- Select Time Stamp Servers in the left-hand menu, then click the button labeled +, with an icon of a computer.

-
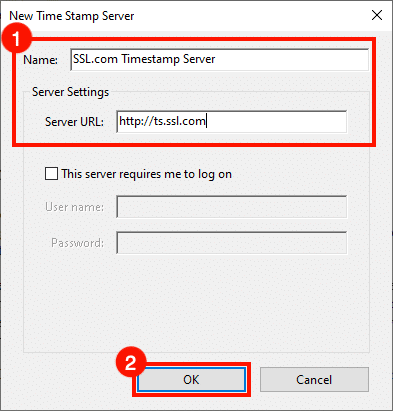
Enter a Name and URL for a time stamp server, then click the OK button. Here we are using SSL.com’s server at
http://ts.ssl.com.
-
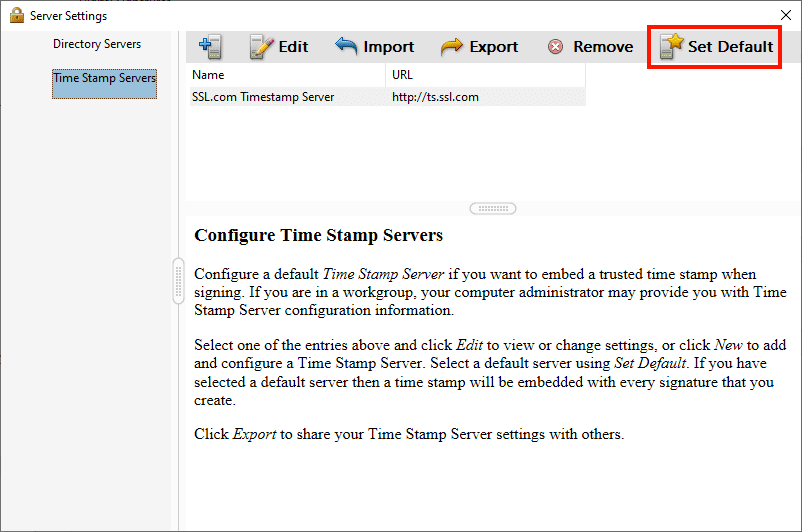
With the new time server selected, click Set Default.
-
The time stamp server you added should now have a star displayed to the left.

-
Close the Server Settings dialog box and the application preferences. Signatures created with the application should now include the information necessary for long-term validation.
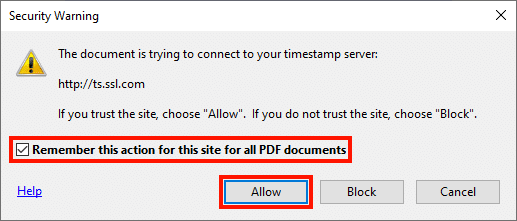
The first time you connect to a new time stamp server when signing, Acrobat will present a security warning dialog. Click Allow to continue. You can also check the box labeled Remember this action for this site for all PDF documents to prevent the dialog from appearing in the future.

Check the LTV Status of a Signature
You can check the LTV status of a digital signature in Acrobat or Acrobat Reader by following the steps below:
-
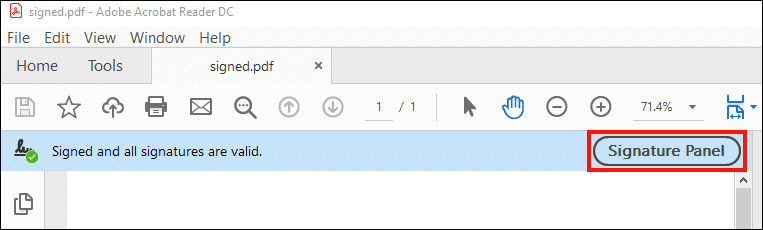
Begin by opening a signed PDF in Acrobat or Acrobat Reader, then click the Signature Panel button.

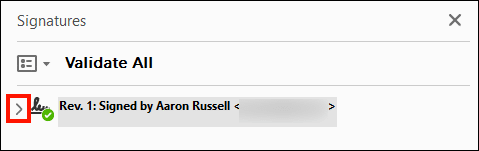
- Click the toggle to the left of the signature you want to inspect.

-
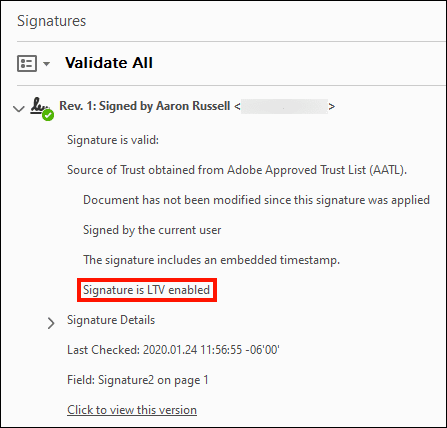
Look for a line reading “Signature is LTV enabled” to confirm that LTV is, indeed, enabled.

-
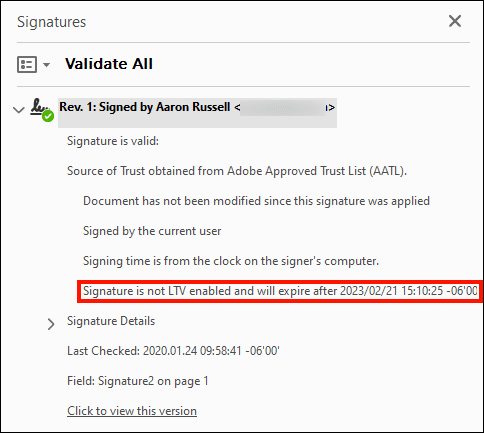
If the signature is not LTV enabled, this line will read “Signature is not LTV enabled,” followed by an expiration date.

Enable LTV for an Existing Signature
There are several reasons why an existing signature might not be LTV enabled. For example, Acrobat cannot retrieve the necessary time stamp and revocation information without a network connection or if an OCSP query fails. However, it is possible to add LTV information at a later date by following the steps below (note that your application must also be configured as shown above to enable LTV):
-
Open a signed PDF in Acrobat or Acrobat Reader, then click the Signature Panel button.
-
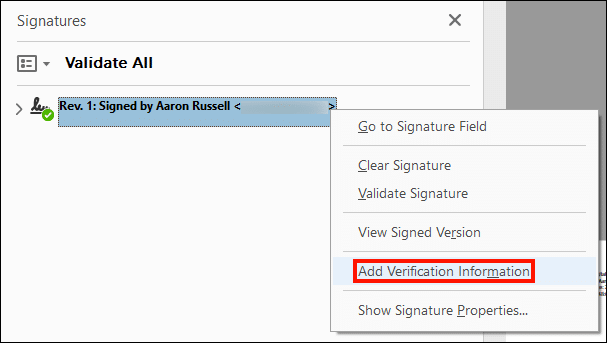
Right-click the signature you wish to add LTV information to, then select Add Verification Information from the menu.

-
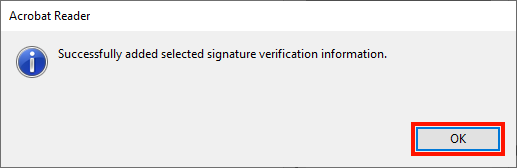
A dialog box should appear, showing that the information has been added. Click the OK button to close it.

-
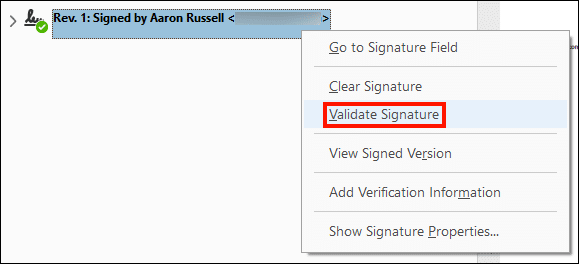
To check if all necessary LTV information has been added to the signature, right click the signature and select Validate Signature from the menu.

-
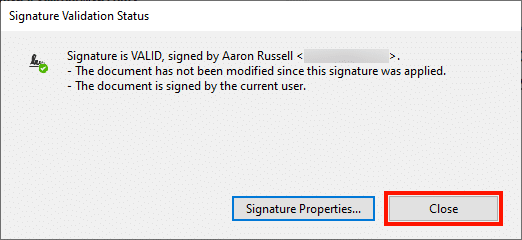
Click the Close button to dismiss the System Validation Status dialog box.

-
Following the steps above under Check the LTV Status of a Signature, you can now confirm that the signature is LTV enabled.