Time needed: 30 minutes
These instructions will show you how to create a Key Vault in the Azure portal. You can install certificates from SSL.com in your Key Vault by importing PKCS#12/PFX files or creating and merging certificate signing requests (CSRs). You will need an Azure account before getting started.
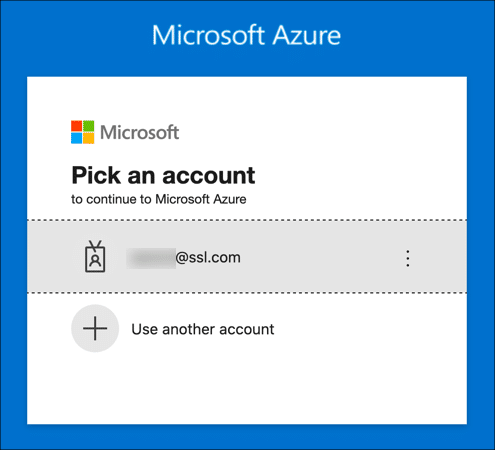
- Sign into Azure.
Sign into the Azure portal.

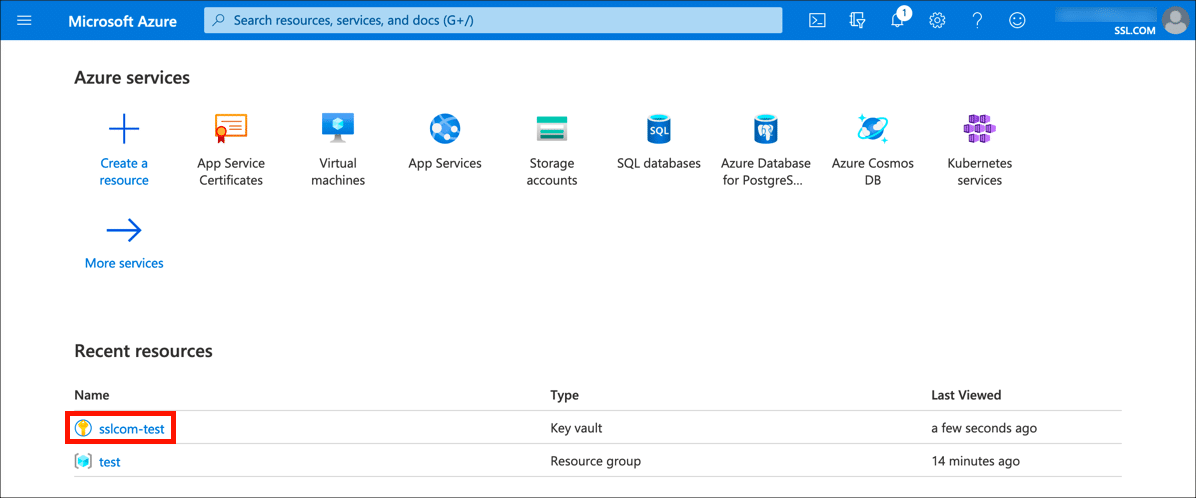
- Create a resource.
Click Create a resource.

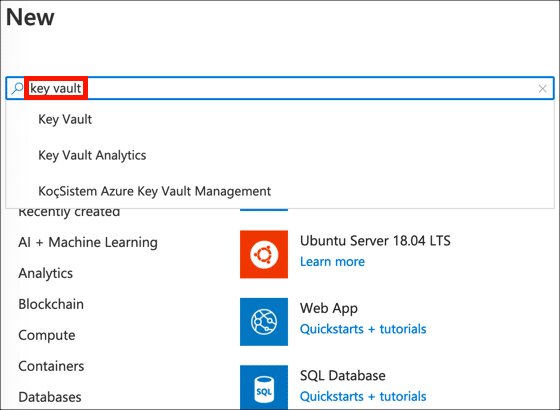
- Search for Key Vault.
Type “key vault” into the search field and press
enter.
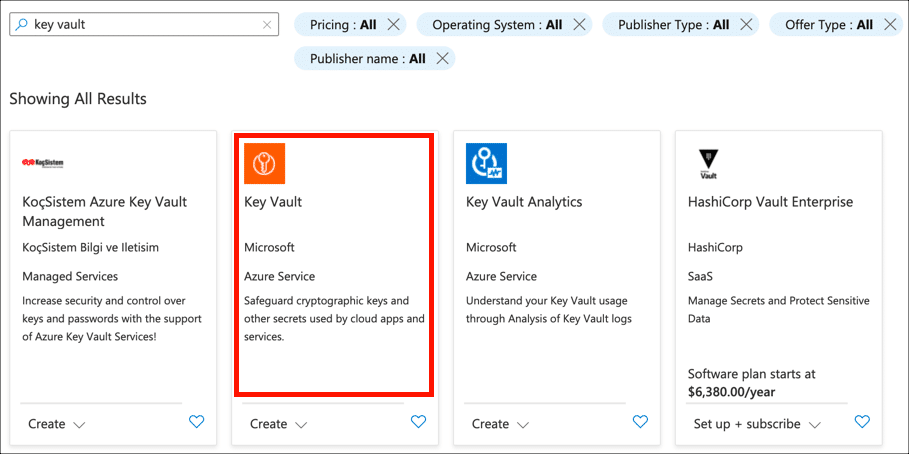
- Click Key Vault link.
Click the search result for Key Vault.

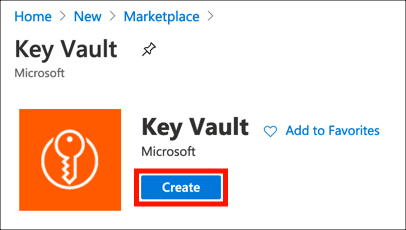
- Click Create.
Click the Create button to begin creating a new Key Vault.

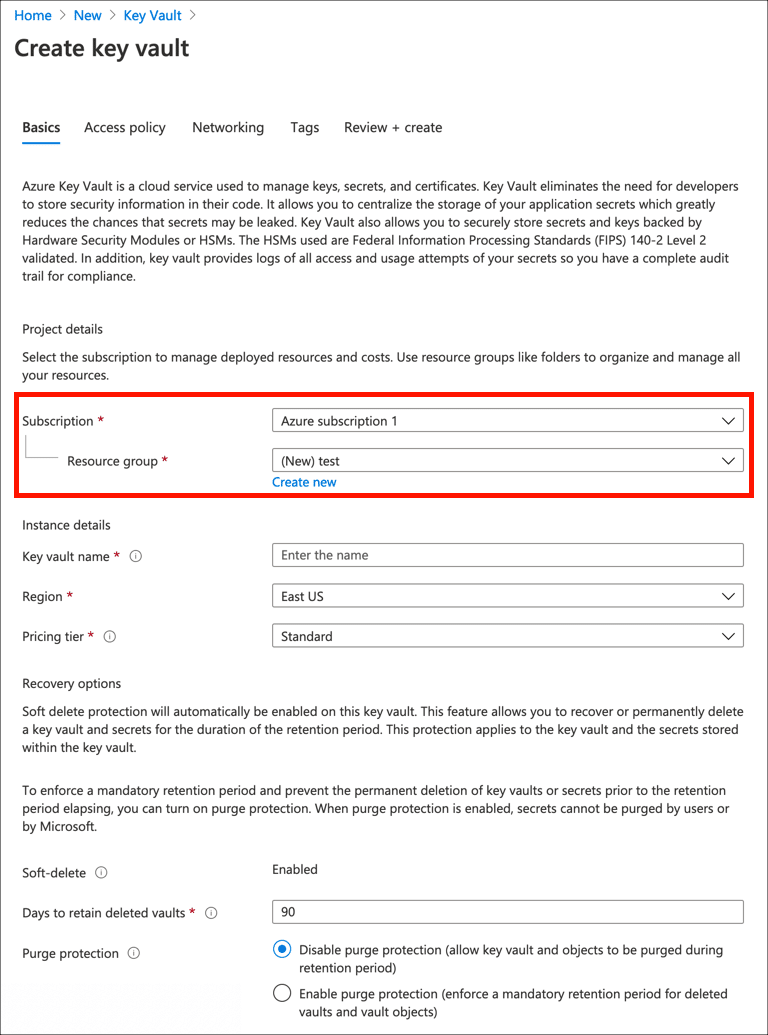
- Select subscription and resource group.
Select a subscription and a resource group. You can create a new resource group if necessary by clicking create new.

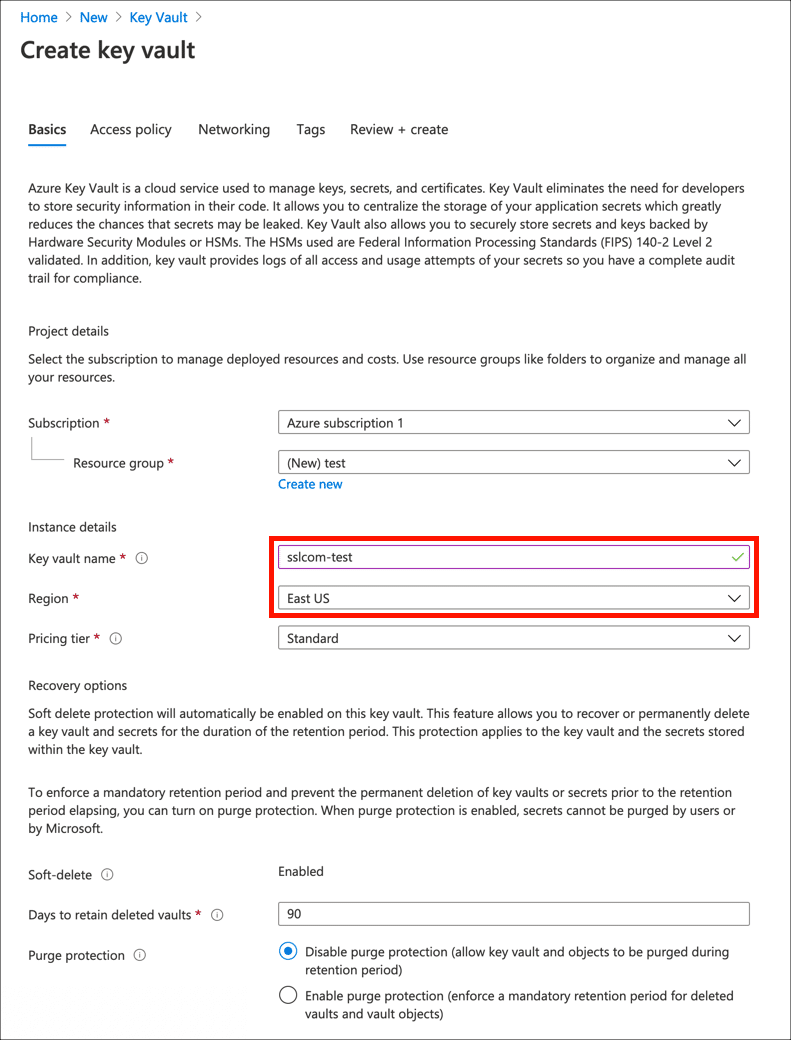
- Set name and region.
Create a name for your Key Vault and select a region. The name may include only alphanumeric characters and dashes, and may not begin with a number.

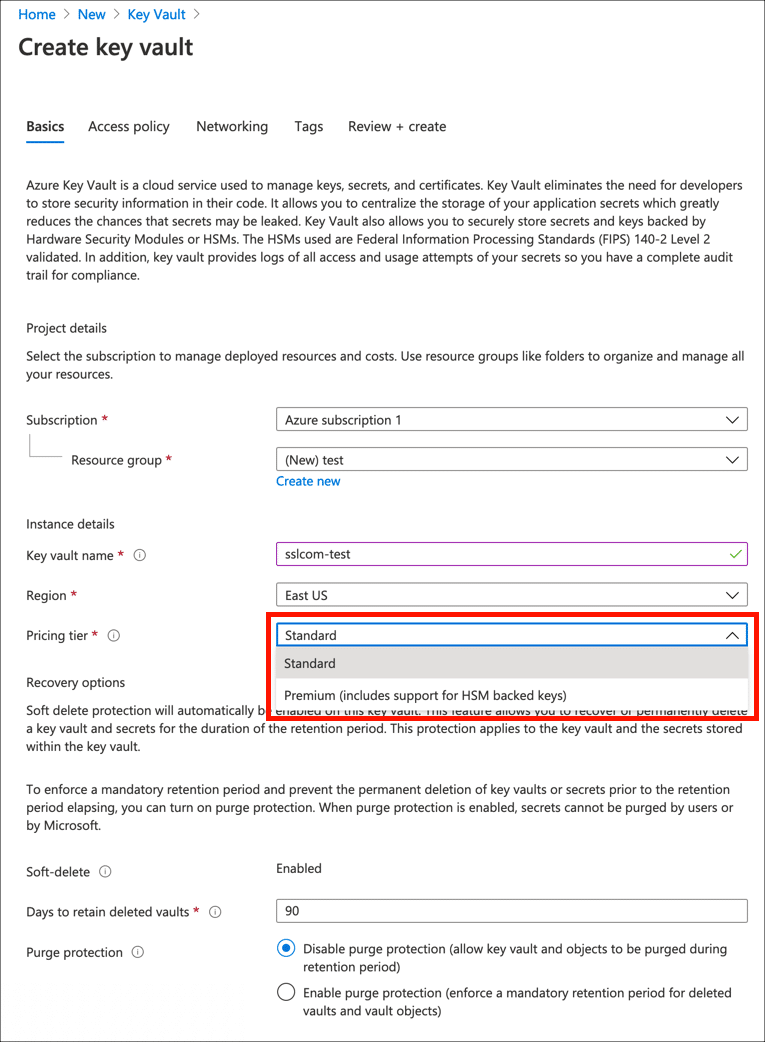
- Select pricing tier.
Choose a pricing tier from the drop-down menu. Selecting Premium will allow you to create HSM-protected keys.

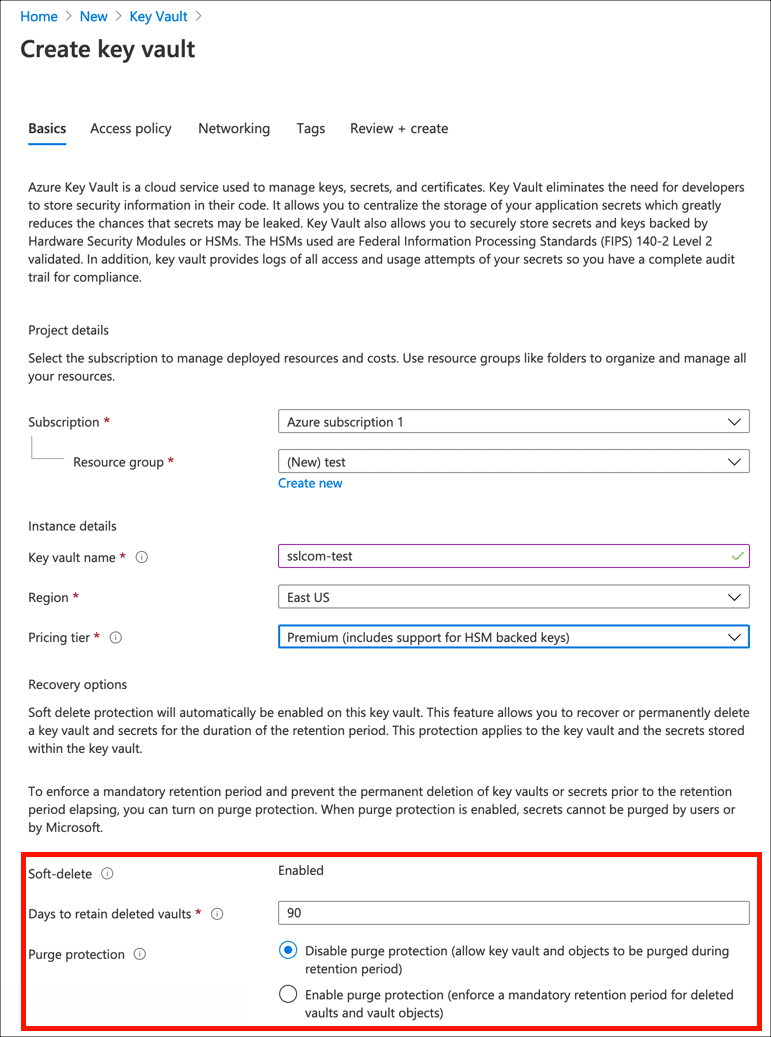
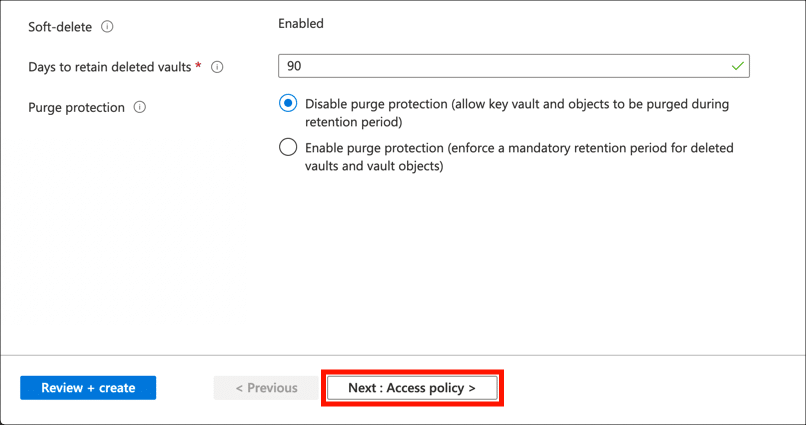
- Set recovery options.
Set the recovery options for your Key Vault, including purge protection and the number of days to retain deleted vaults.

- Continue to Access Policy screen.
Click the Next: Access Policy button.

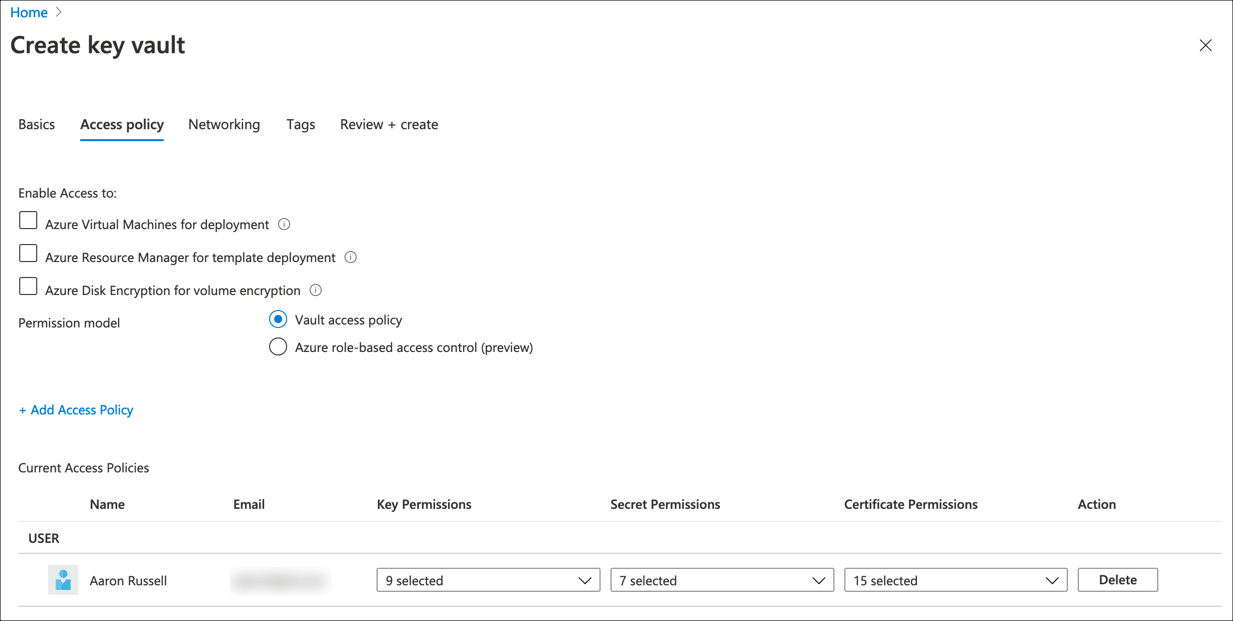
- Set access policies.
Set the access policies for your Key Vault.

- Continue to networking settings.
Click the Next: Networking button.

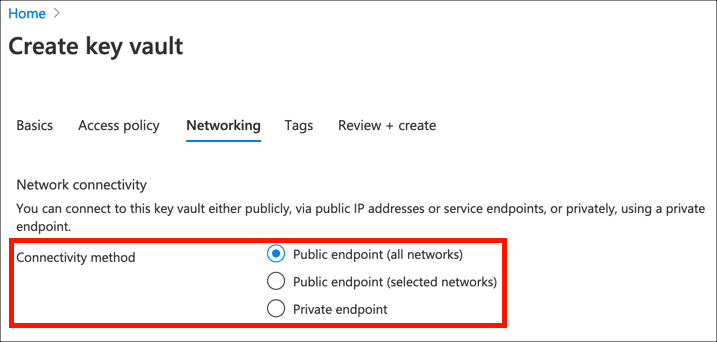
- Choose connectivity method.
Choose a connectivity method for your Key Vault.

- Continue to tags settings.
Click the Next: Tags button.

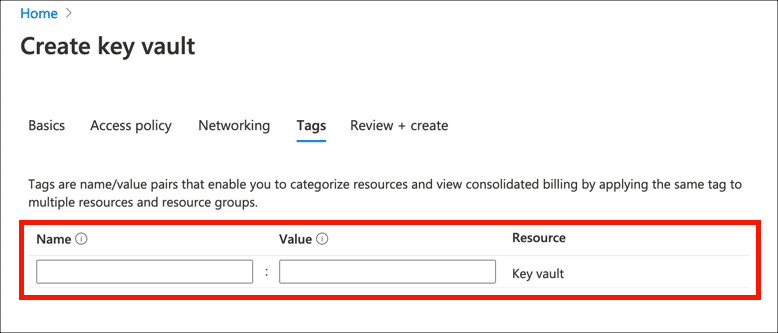
- Add tags.
If desired, create tags for your Key Vault.

- Continue to Review and Create.
Click the Next: Review and Create button

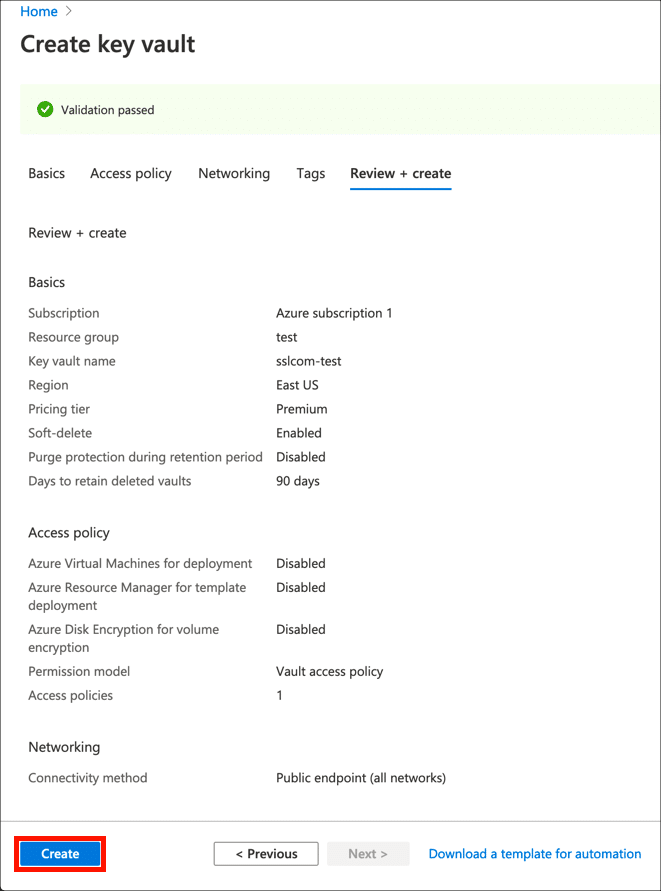
- Review settings and create Key Vault.
Review your settings, them click the Create button to create your new Key Vault.

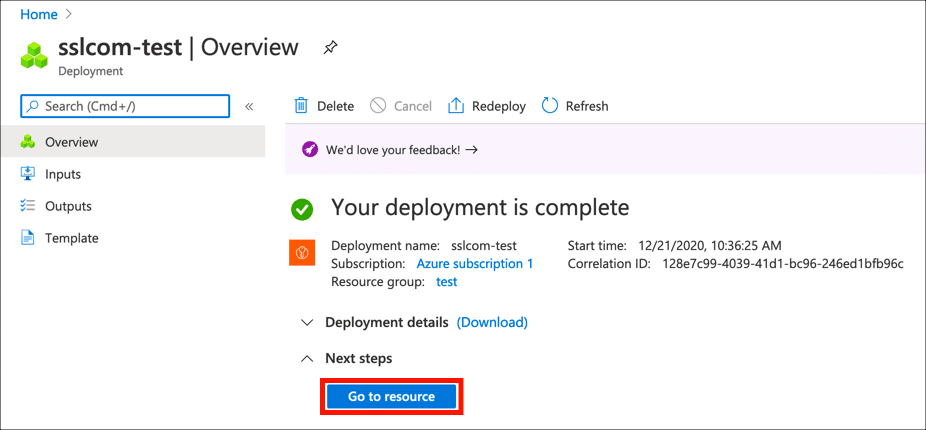
- Finished!
Azure will create your new Key Vault. When it is ready, you can visit it by clicking the Go to resource button.

- Next steps.
Now that your new Key Vault is ready, you can use it to import digital certificates, or generate certificate signing requests (CSRs).