This how-to will walk you through installing and using an S/MIME certificate to send signed and encrypted email in Apple’s Mail app on your iPhone or iPad.
Certificate Download and Installation
-
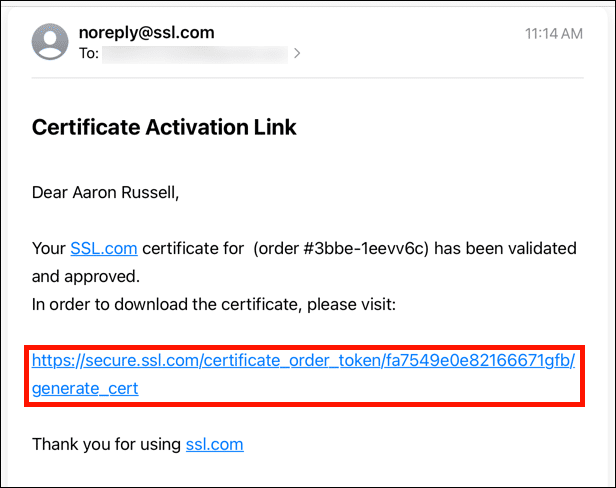
In Mail on your iOS device, tap the link provided in your Certificate Activation Link email.

-
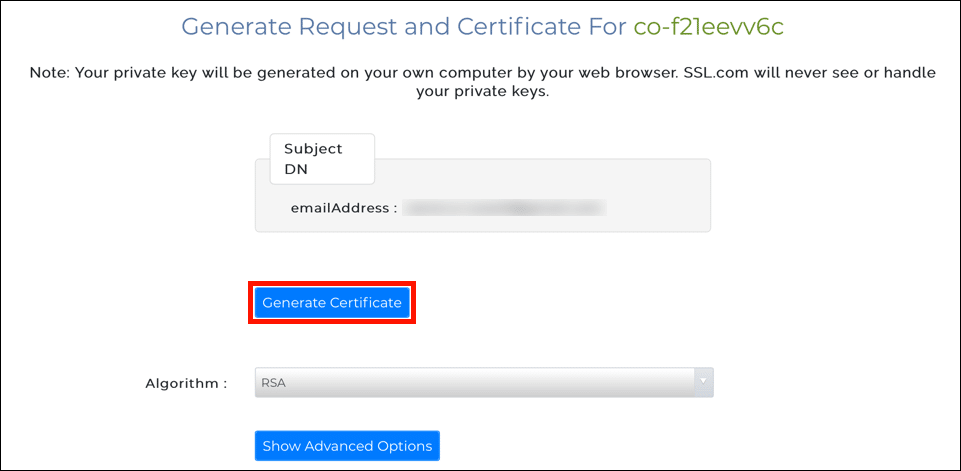
Tap the Generate Certificate button in the web page that opens. Note that you may be prompted to log into your SSL.com account first.
 Note: You can choose between RSA and ECDSA with the Algorithm drop-down menu, but ECDSA cannot be used as an email encryption key, so it’s best to leave this set to RSA. You can also click the Show Advanced Options button, which will reveal a drop-down menu for choosing the key size. Finally, checking I have my own CSR will let you use your own certificate signing request and private key rather than generating a new CSR and key.
 -
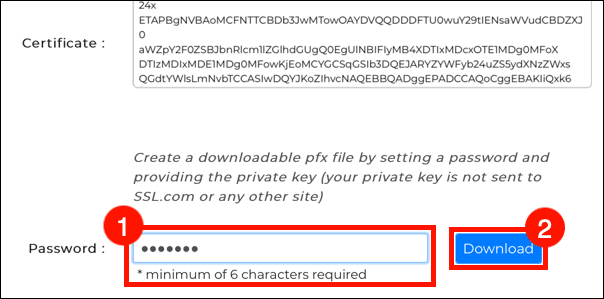
Scroll down and create a new password at least 6 characters long in the Password field, and then tap the Download button. Remember this password! You will need it when installing your certificate.

-
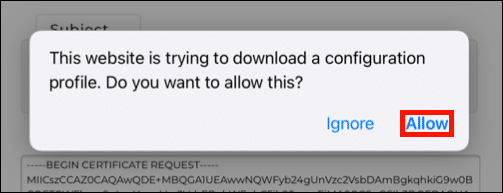
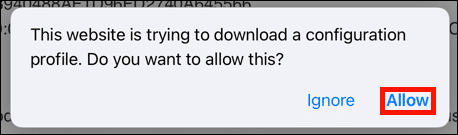
Tap Allow on the dialog box that appears, giving permission to download the configuration profile (a file containing your new certificate and private key).

-
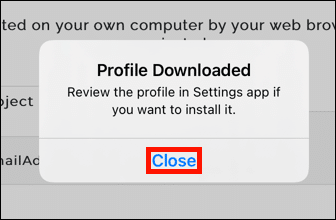
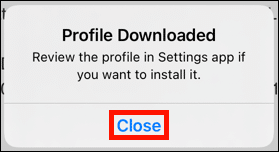
Tap Close on the dialog box indicating that the profile has been downloaded.

-
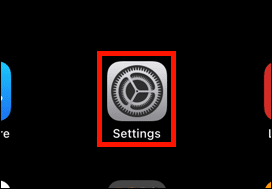
Open the Settings app.

-
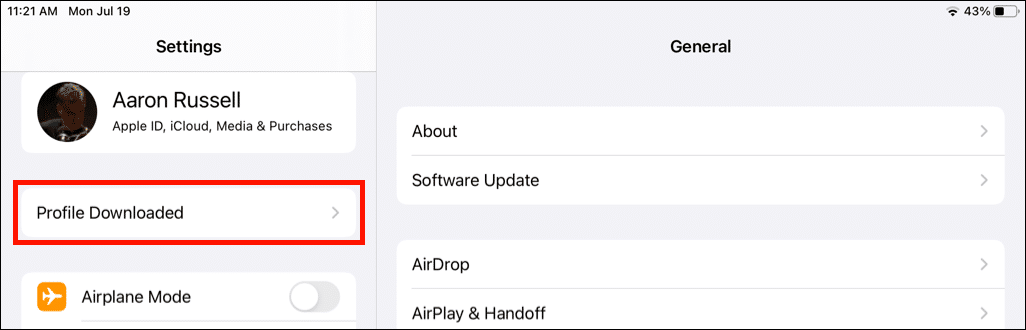
Tap Profile Downloaded.

-
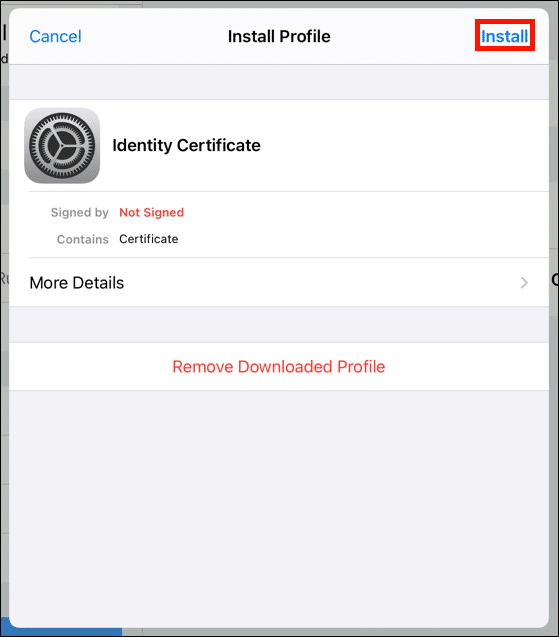
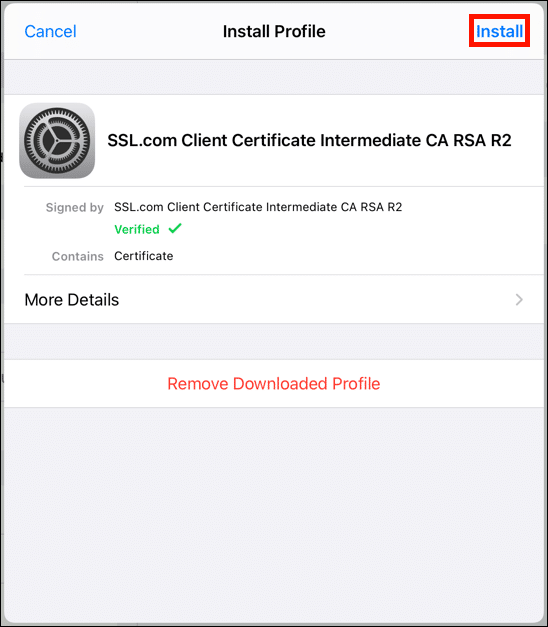
Tap Install. Note: Even though the PFX file contains a certificate issued by SSL.com, a certificate authority trusted on iOS devices, you will receive several notices that the certificate is Not Signed in this and the next few steps.

-
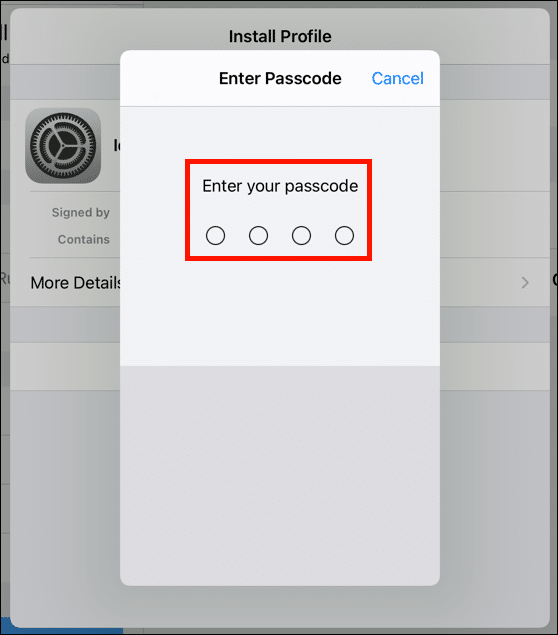
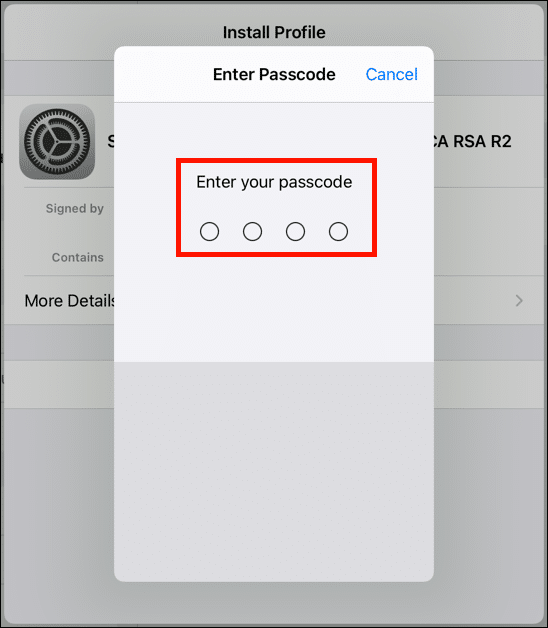
Enter your iOS passcode. This is the passcode you would use to sign into your iOS device, not the password you entered when downloading your certificate.
Note: Installing an S/MIME certificate on iOS requires that you have set a passcode for the device. For information on setting up a passcode, please refer to Apple’s documentation. -
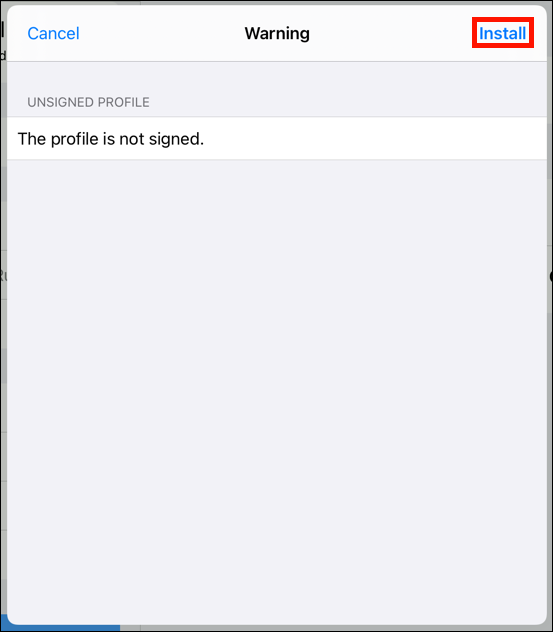
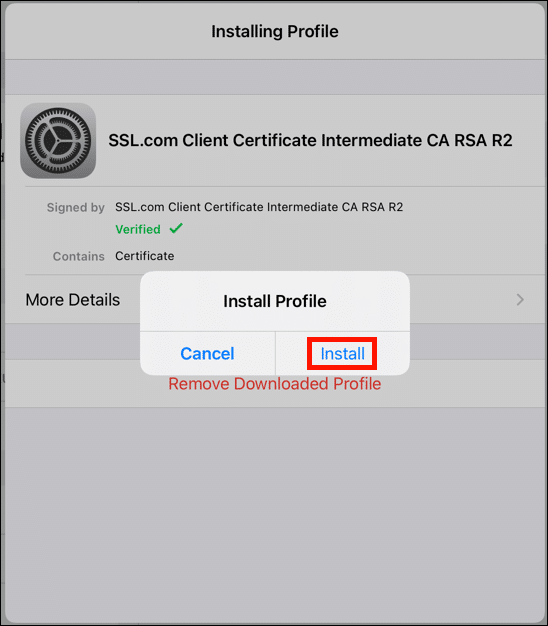
Tap Install on the warning dialog that appears.

-
Tap the Install button.
-
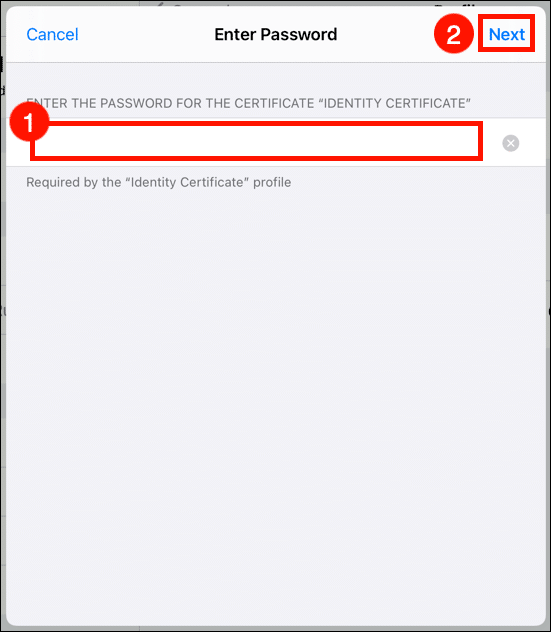
Enter the password you created in step 3, then tap Next.

-
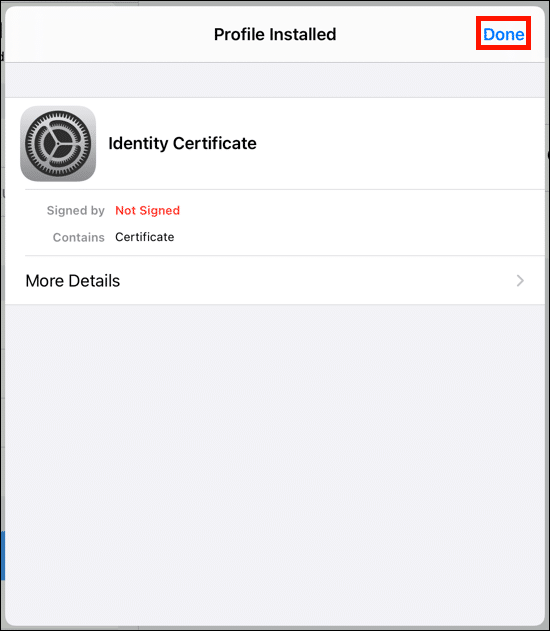
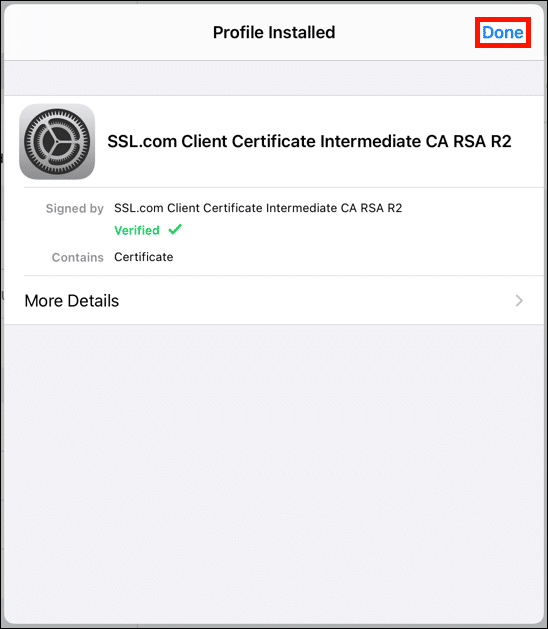
The certificate has been installed. Tap Done.
-
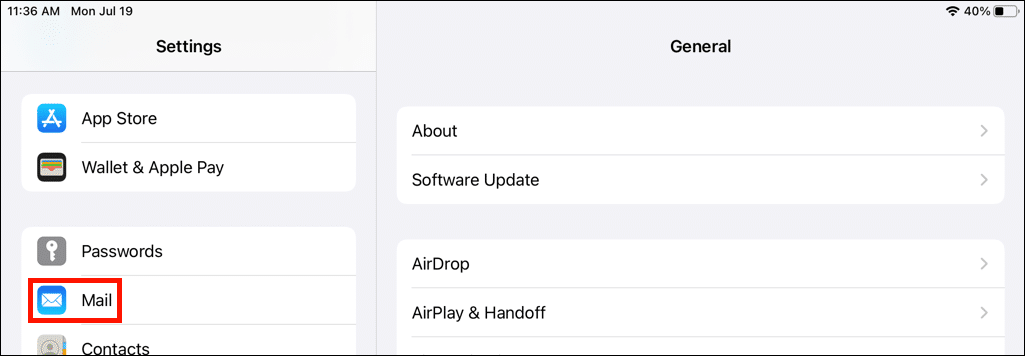
Now that the certificate has been installed, we need to configure Mail to use it. Go to Settings > Mail.

-
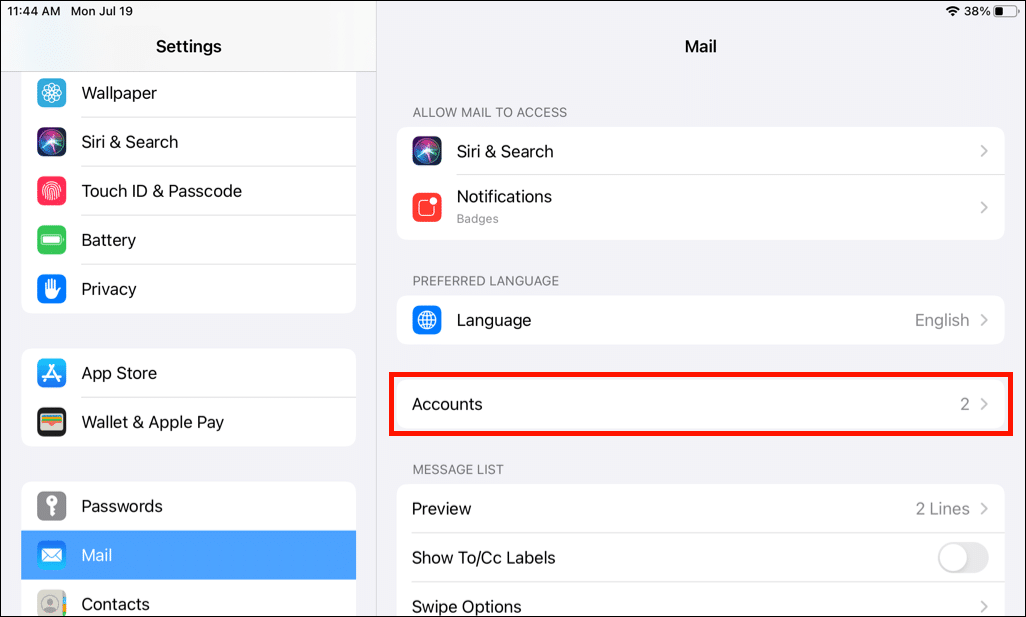
Tap Accounts.

-
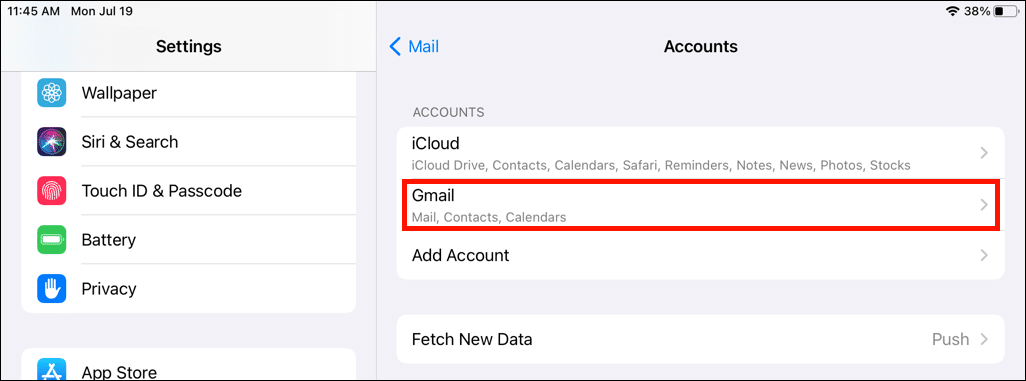
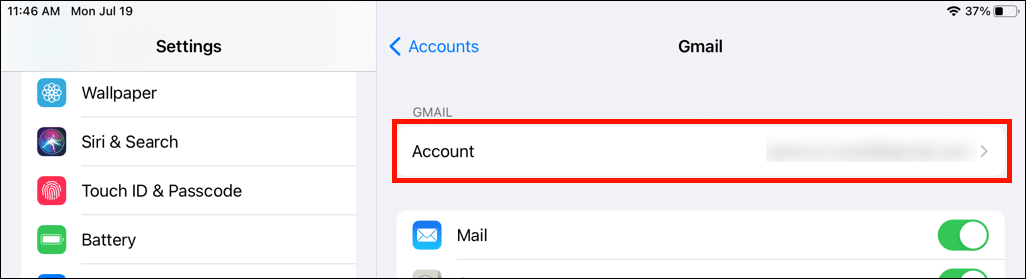
Select the account you are adding the S/MIME certificate for.

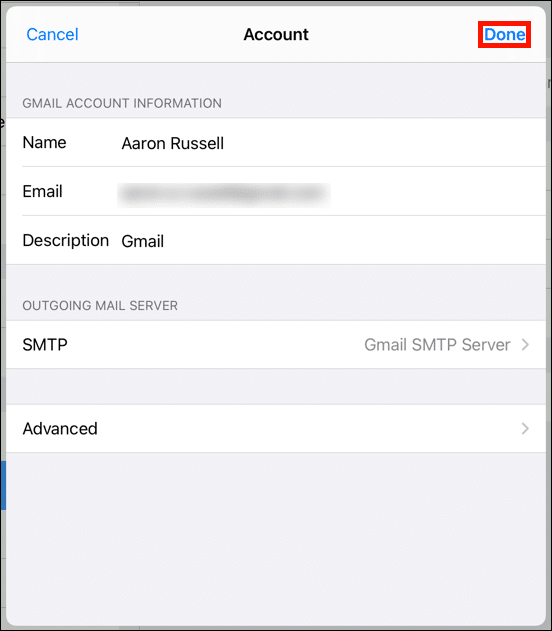
- Tap Account.

-
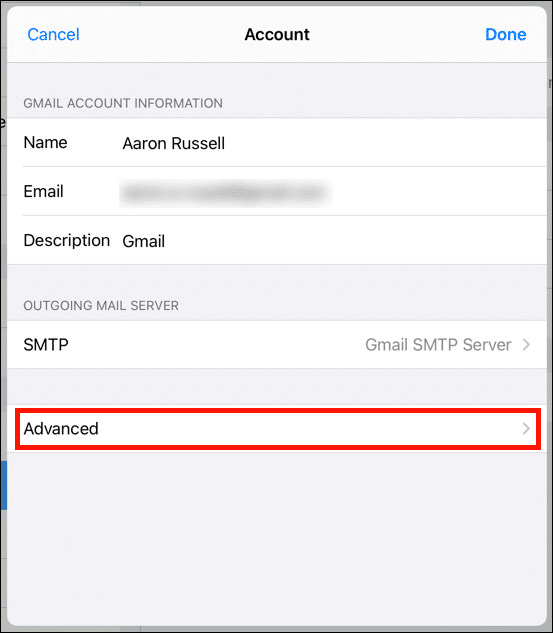
Tap Advanced.

-
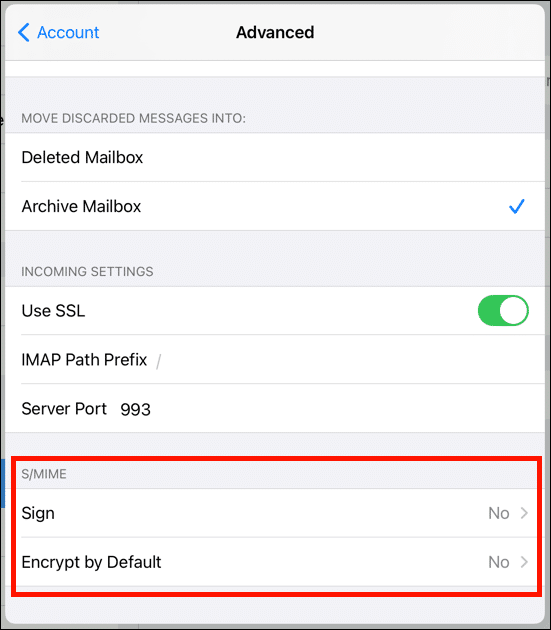
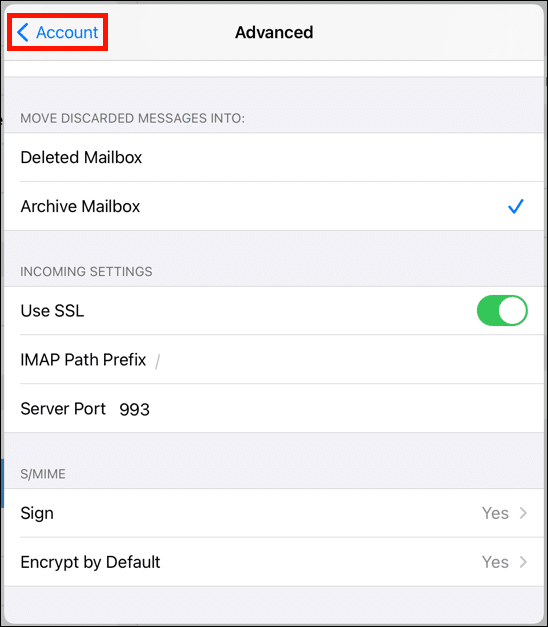
Scroll down to S/MIME.
-
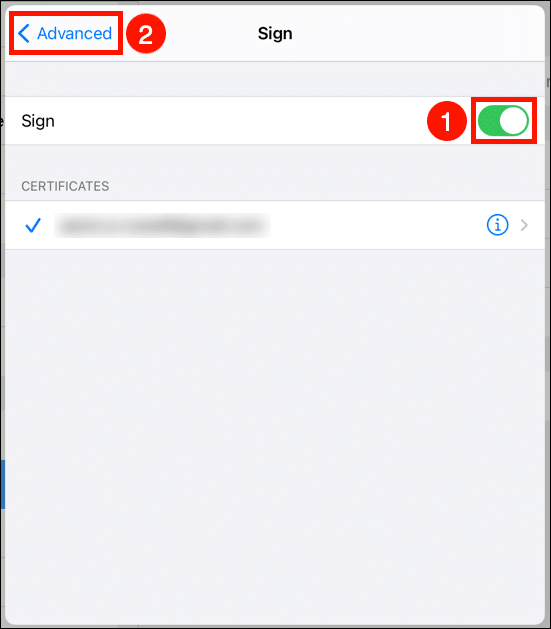
To sign all outgoing messages, select Sign, then turn the switch to green and return via the <Advanced link.

-
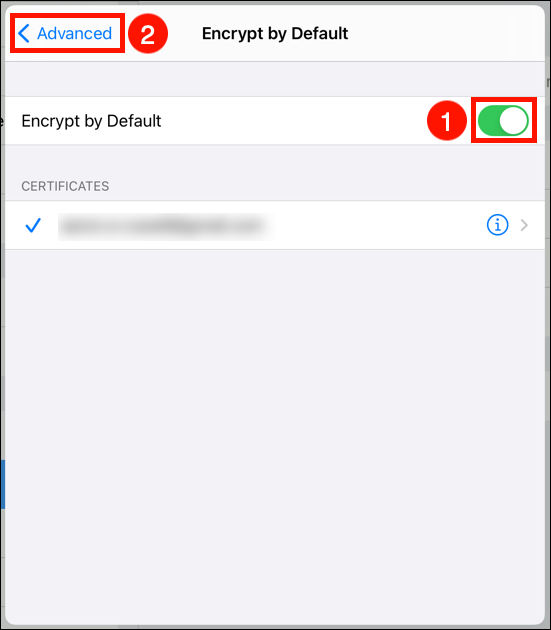
To encrypt outgoing messages by default, select Encrypt by Default, then turn the switch to green and return via the <Advanced link.
- Tap <Account, then Done.
- Next, you should install SSL.com’s intermediate certificate. This step will ensure that your signed email will be trusted on all devices. Load this how-to in the Safari browser on your iOS device and click the following link:
- Tap Allow.

- Tap Close.

- Open the Settings app.
- Tap Profile Downloaded.
- Tap Install.
- Enter your iOS passcode.
- Tap Install.
- Tap Done.
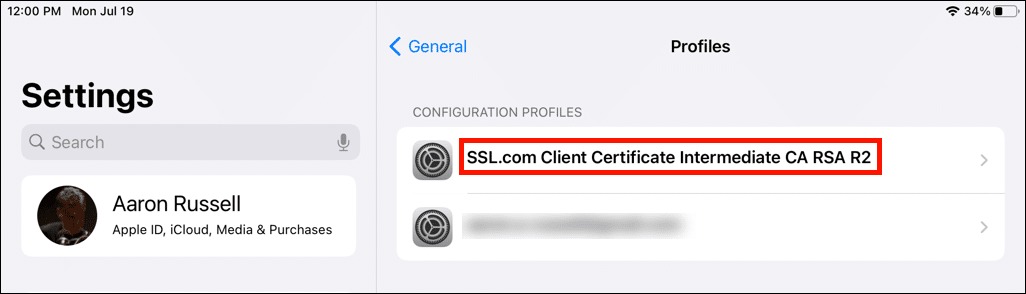
- The intermediate certificate is now installed.


Sending Signed and Encrypted Email
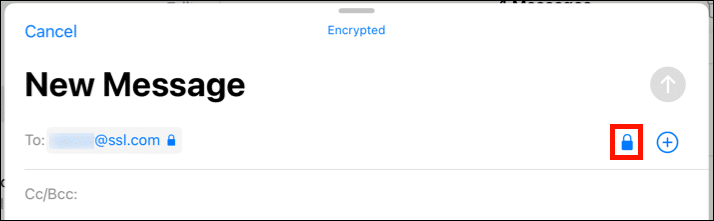
- Your S/MIME certificate is now installed and configured to work with your email account. If you enabled email signing, all outgoing mail will be signed with your S/MIME certificate. If you enter an email address for which you have installed the recipient’s certificate with their public encryption key, you can toggle message encryption with the lock button at the right side of the address line (if the lock is closed, the message will be encrypted).

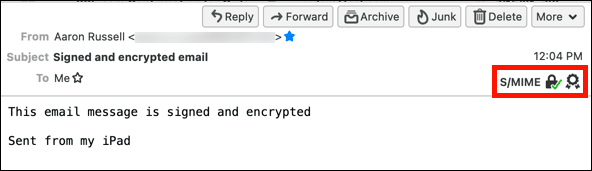
- In this example we have previously installed the recipient’s certificate (see the next section, below) and are sending encrypted mail. Viewing the sent mail in Thunderbird for macOS shows that the message has indeed been signed and encrypted.

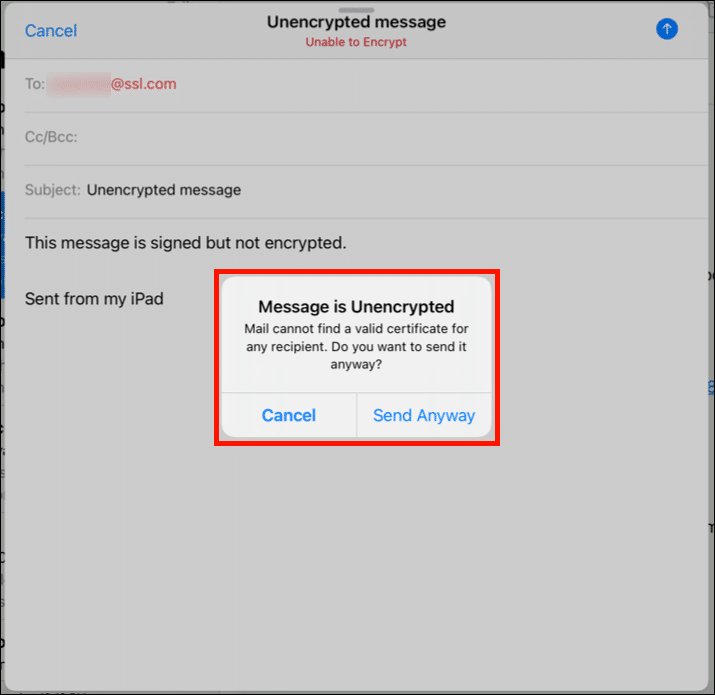
- If you have not installed your recipient’s public key, your message cannot be encrypted, but will still be signed.
 Note: All outgoing mail will be sent using the default S/MIME signing settings for your account in iOS. You cannot choose not to sign email unless you disable this feature in the account settings. As shown above, message encryption can be toggled on and off.
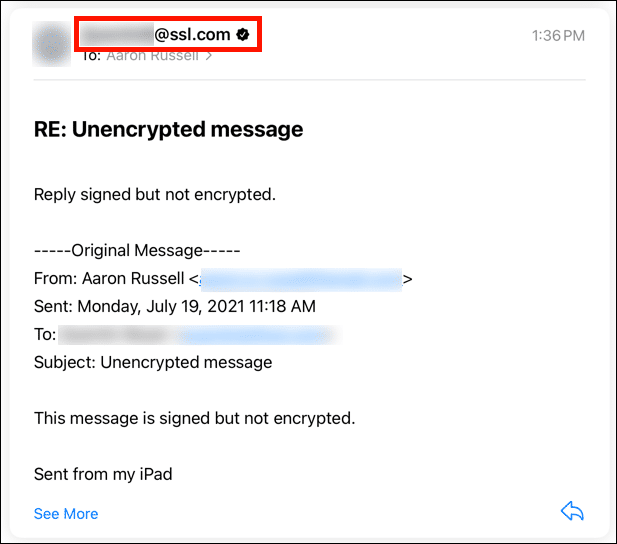
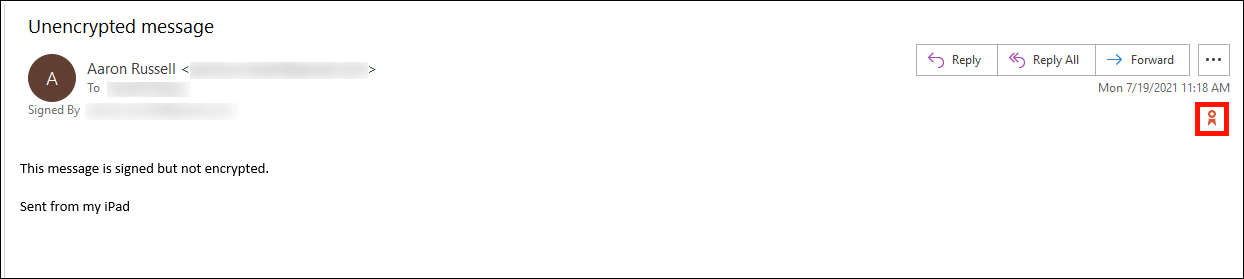
 - As can be seen from this screenshot from Outlook, the message above was received signed but unencrypted.

Installing a Recipient’s Certificate and Public Key
- In order to send encrypted S/MIME email to a specific email address, your recipient’s certificate with their public key must be installed on your device. The process begins when you receive a signed email from that person. A email message signed with a certificate issued by a trusted certificate authority (CA), such as SSL.com, will have a small seal with a check mark to the right of the sender’s address. Tap the sender’s email address, then tap again after the check mark turns blue.

-
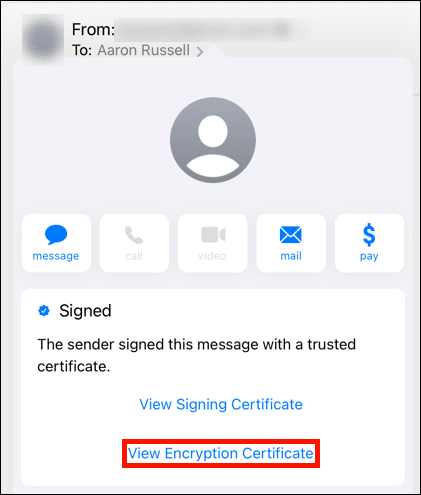
A screen should appear stating that “The sender signed this message with a trusted certificate.” Tap View Encryption Certificate.

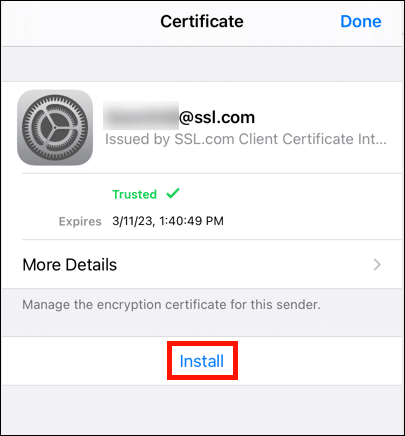
- Tap Install. Note: Even though Mail previously indicated that the certificate was trusted, there still will be a Not Trusted message above the certificate’s expiration date in this step.

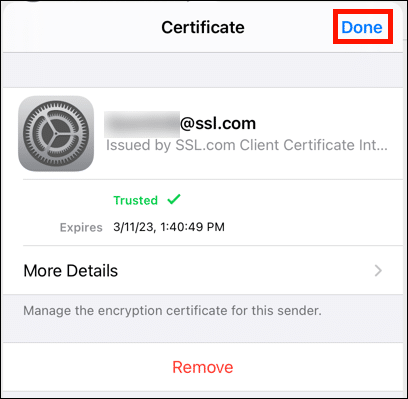
- Tap Done to finish installing the certificate. After installing the certificate, Mail will automatically allow you to send encrypted email to this address.