If you are having problems using one of SSL.com’s Email, Client Authentication, and Document Signing certificates, it’s important to make sure that all necessary supporting (intermediate and root) certificates are installed on your system. This how-to will step you through retrieving these certificates and installing them in MMC on Windows 10.
Note: If you are using an certificate installed on a YubiKey or other secure token, it is still necessary to install these supporting certificates on your computer.
-
Log into your SSL.com user account and navigate to your certificate order, then click the download link.

-
Find the certificate download by platform table, then click the download link for Other platforms.

-
Download the zip file.

-
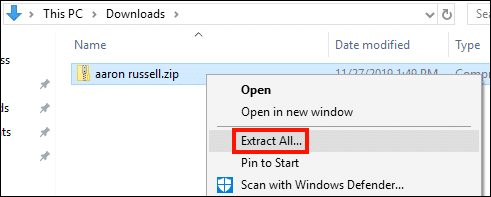
Locate the zip file on your computer, then unzip it by right-clicking it and selecting Extract All… from the menu, then clicking the Extract button in the window that opens.

-
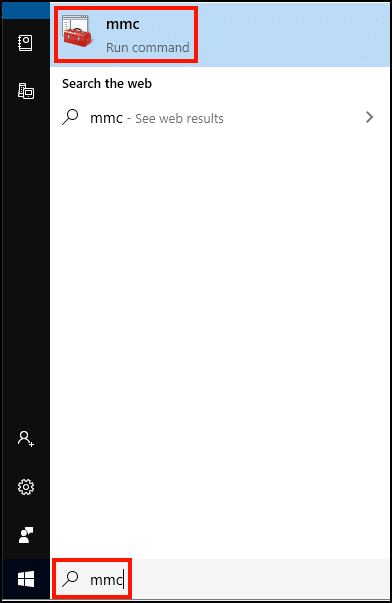
Open MMC on your computer. You can find it by typing “mmc” into the Windows search bar.

-
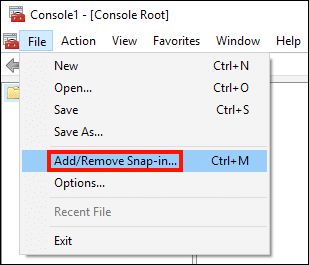
Choose File > Add/Remove Snap-in… from the menu.

-
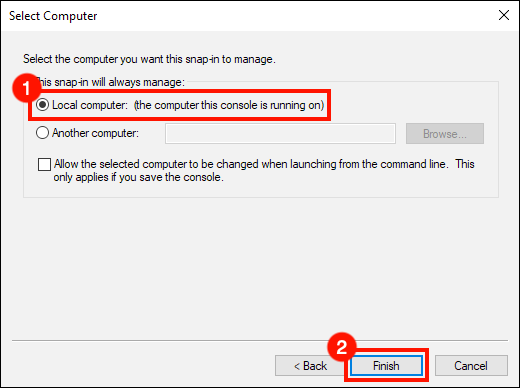
Make sure Local Computer is selected, then click the Finish button.

-
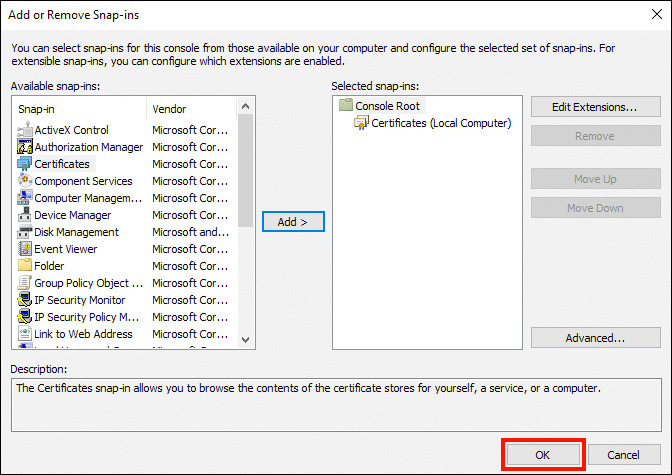
Click the OK button to close the Add or Remove Snap-ins dialog box.

-
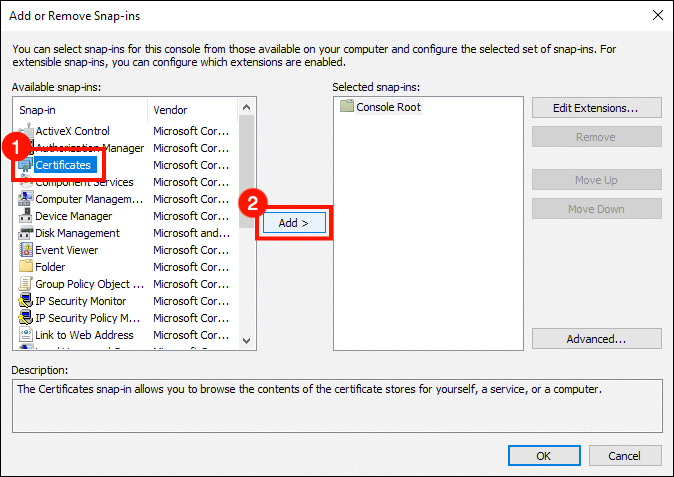
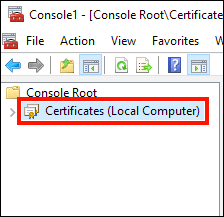
Select Certificates (Local Computer) from the left-hand pane.

-
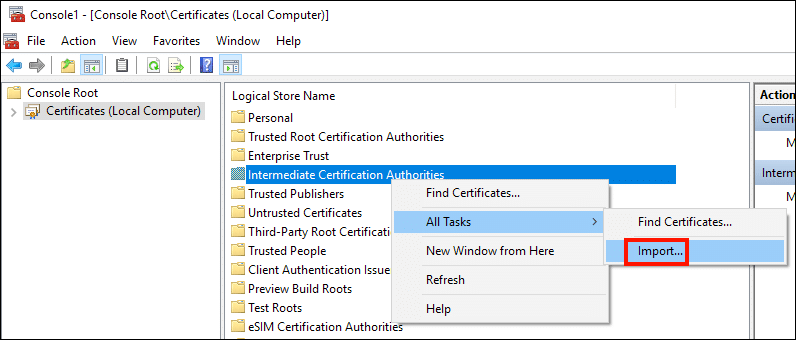
Right-click Intermediate Certification Authorities, then select All Tasks > Import… from the menu.

-
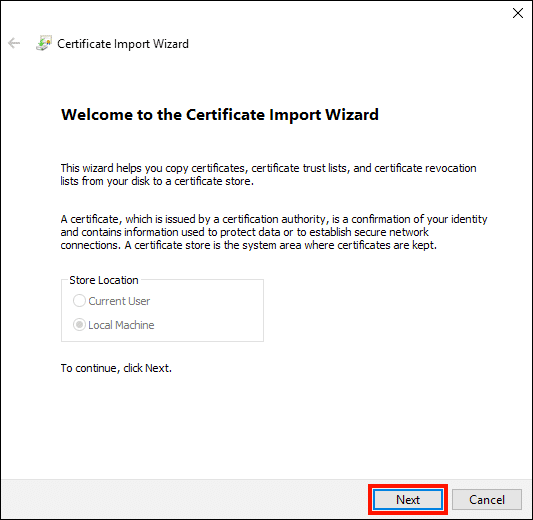
The Certificate Import Wizard will open. Thick the Next button.

-
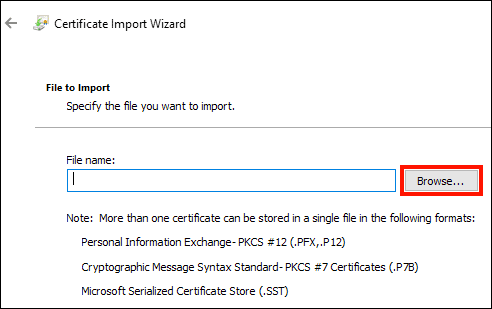
Click the Browse button.

-
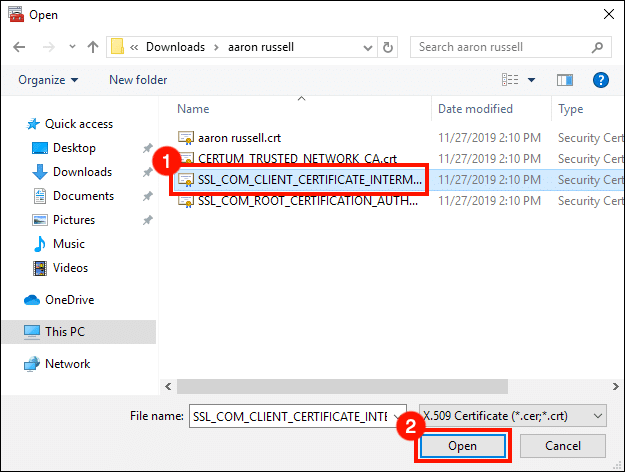
In the file open dialog, navigate to
SSL_COM_CLIENT_CERTIFICATE_INTERMEDIATE_CA_RSA_R2.crtin the unzipped folder from step 4, above, and click the Open button.
-
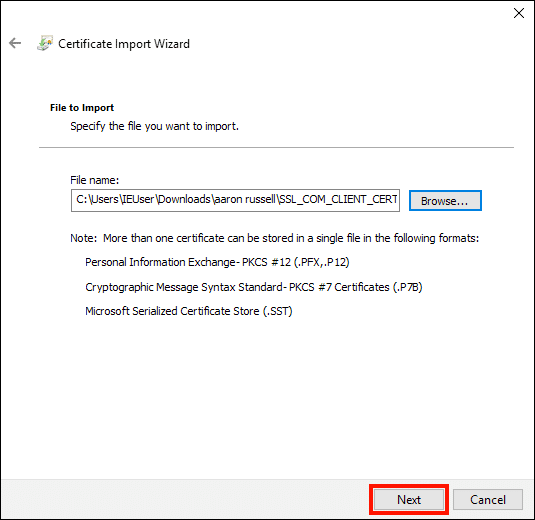
Click the Next button.

-
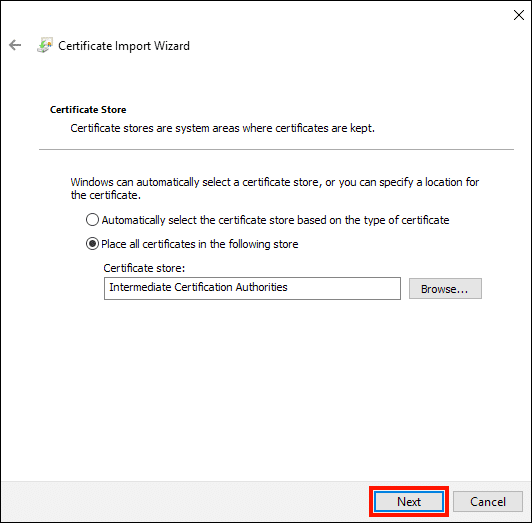
Click the Next button again to accept the certificate store location.

-
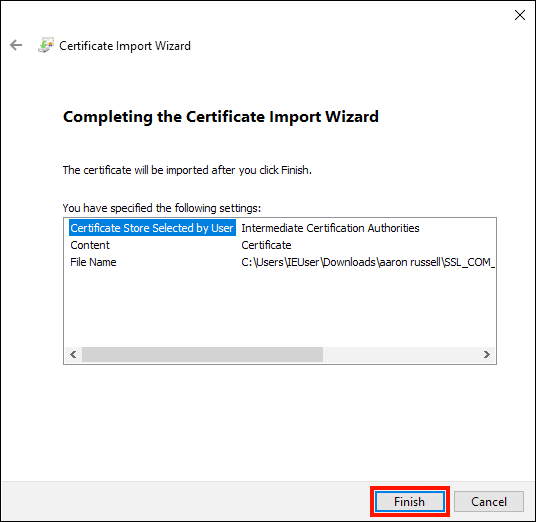
Click the Finish button.

-
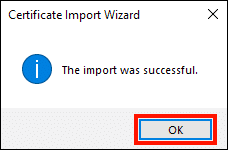
Click the OK button.

-
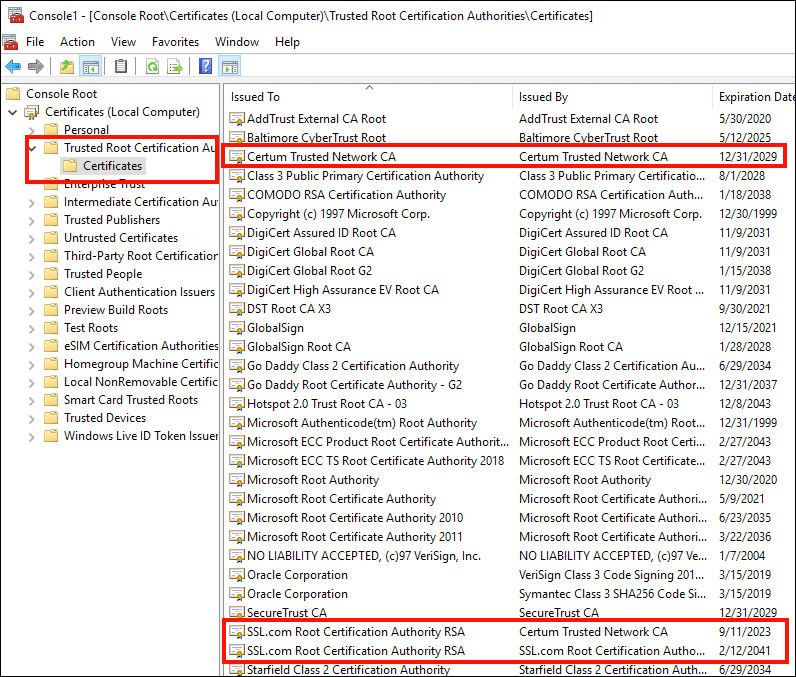
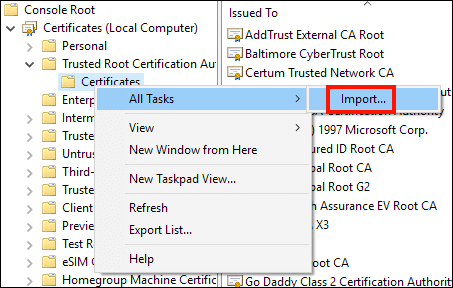
Next, navigate to Trusted Root Certification Authorities > Certificates, and make sure that the following certificates are installed:
- Certum Trusted Network CA
- SSL.com Root Certification Authority RSA (issued by SSL.com)
- SSL.com Root Certification Authority RSA (issued by Certum)

-
If any of these certificates are missing, right click on Trusted Root Certification Authorities > Certificates, select All Tasks > Import… from the menu, then repeat steps 12 to 18 for any missing root certificates:
- For missing Certum root, install
CERTUM_TRUSTED_NETWORK_CA.crt. - If either SSL.com root is missing, install
SSL_COM_ROOT_CERTIFICATION_AUTHORITY_RSA.crt.

- For missing Certum root, install
-
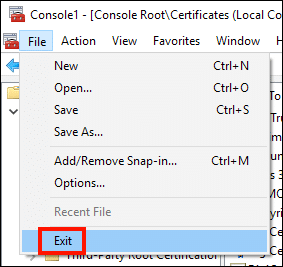
Close MMC by selecting File > Exit from the menu.

-
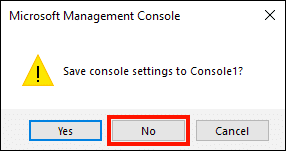
Click the No button to dismiss the dialog box. Alternately, you can click Yes and create a filename to save your MMC settings for later use.


Thank you for choosing SSL.com! If you have any questions, please contact us by email at Support@SSL.com, call 1-877-SSL-SECURE, or just click the chat link at the bottom right of this page. You can also find answers to many common support questions in our knowledgebase.