Time needed: 30 minutes
This tutorial will show you how to generate a PFX/P12 file with Windows and IIS for uploading an SSL/TLS certificate along with it’s private key and complete chain of trust. A PFX file of this type is helpful when installing a website certificate in Azure Web Apps.
- Generate private key and CSR.
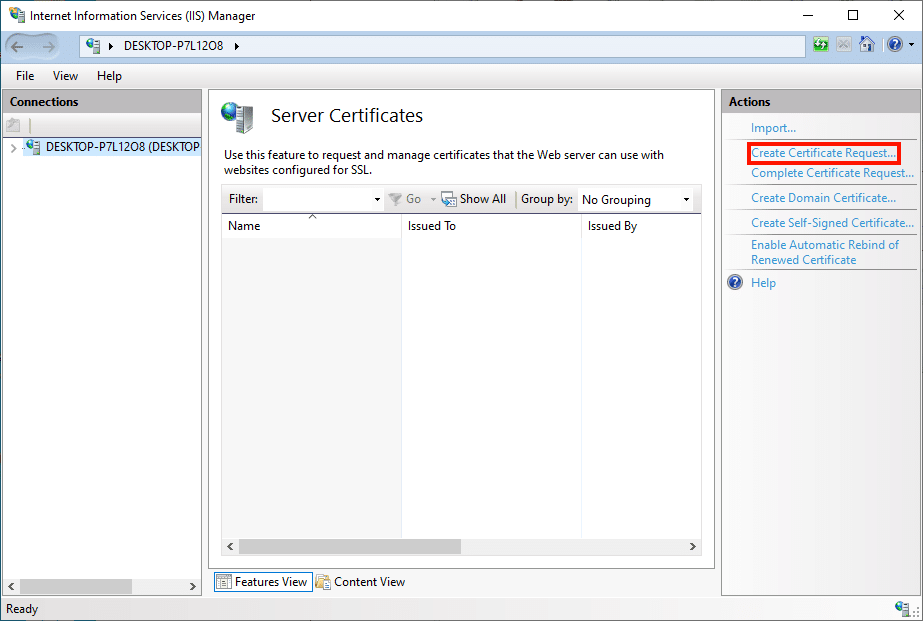
Generate a new private key and CSR by following the steps in Generate a Certificate Signing Request (CSR) in Windows IIS 10.

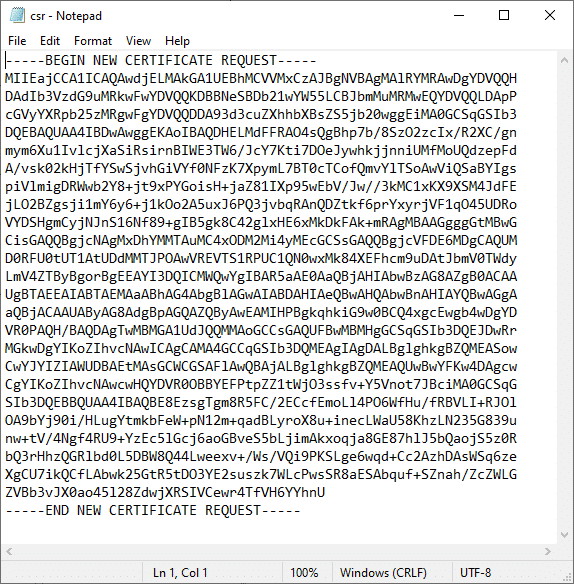
- Open the CSR in a text editor.
Open your new CSR in a text editor for submission to SSL.com.

- Order or re-process a certificate in your SSL.com account.
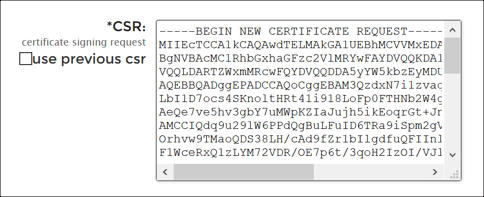
• If you are ordering a new certificate, follow the instructions in Ordering and Retrieving SSL/TLS Certificates. In step 11, copy and paste your CSR into the CSR field.
• If you are reprocessing an existing certificate order, follow the instructions in Reprocess a Certificate. In step 3, do not check use previous csr. Copy and paste your new CSR into the CSR field.
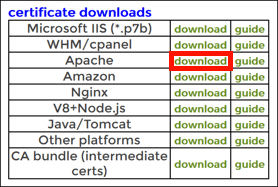
- Download Apache package.
When the certificate is issued, choose the Apache download link from your certificate order. Unzip the file after downloading.

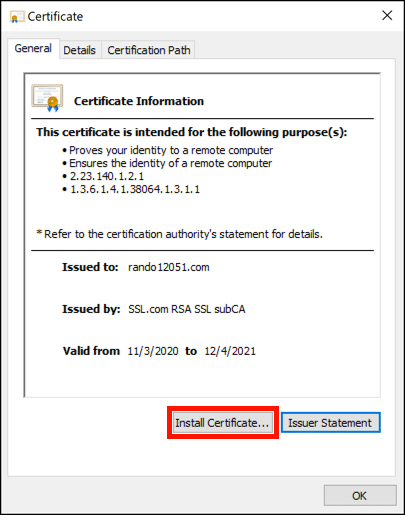
- Install website certificate.
Double-click the certificate with your website’s domain name. Click the Open button to dismiss the security warning if it appears. When the Certificate window appears, Click the Install Certificate button. In the Certificate Import Wizard, select the Local Machine store location, then Automatically select the certificate store based on the type of certificate.

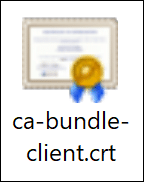
- Install CA bundle.
Repeat step 5 with the file named
ca-bundle-client.crt.
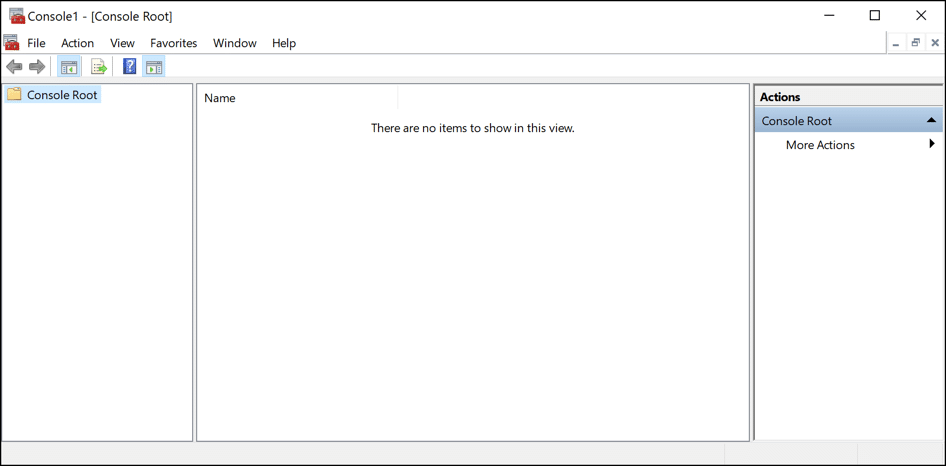
- Launch Microsoft Management Console (MMC).
Launch MMC (you can locate this program by typing “mmc” in your Windows search bar).

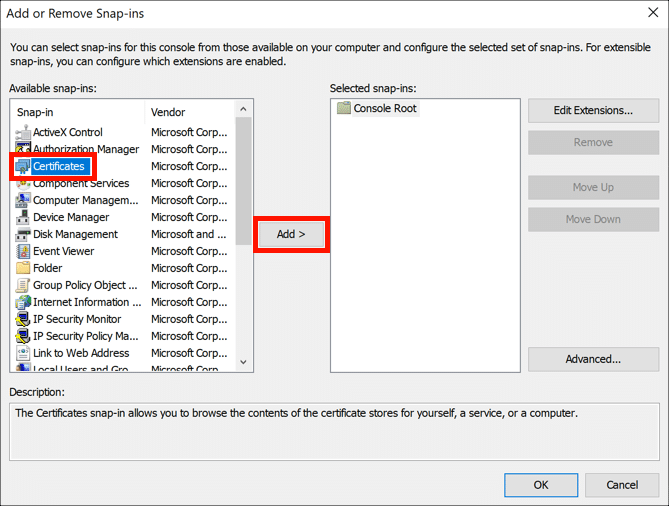
- Add Certificates snap-in.
Select File > Add/Remove Snap-in… from the menu, then select the Certificates snap-in and click the Add button.

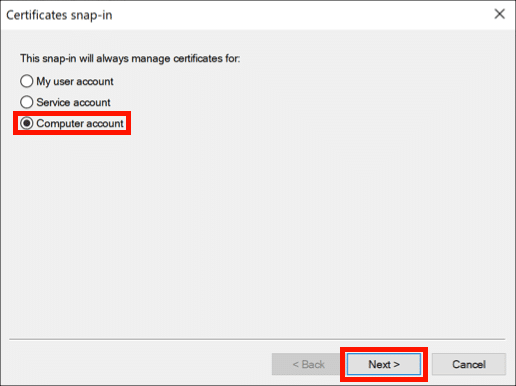
- Select Computer account.
Select the Computer account, then click the Next button.

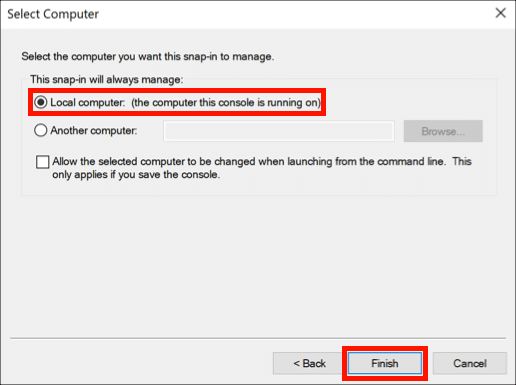
- Select Local computer.
Select Local computer, then click the Finish button. Click OK to dismiss the Add or Remove Snap-ins window.

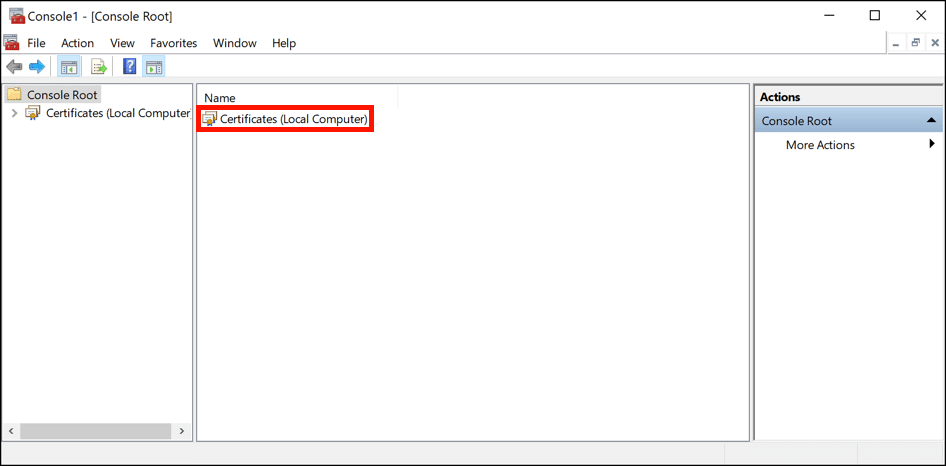
- Open certificates.
Double-click Certificates (Local Computer).
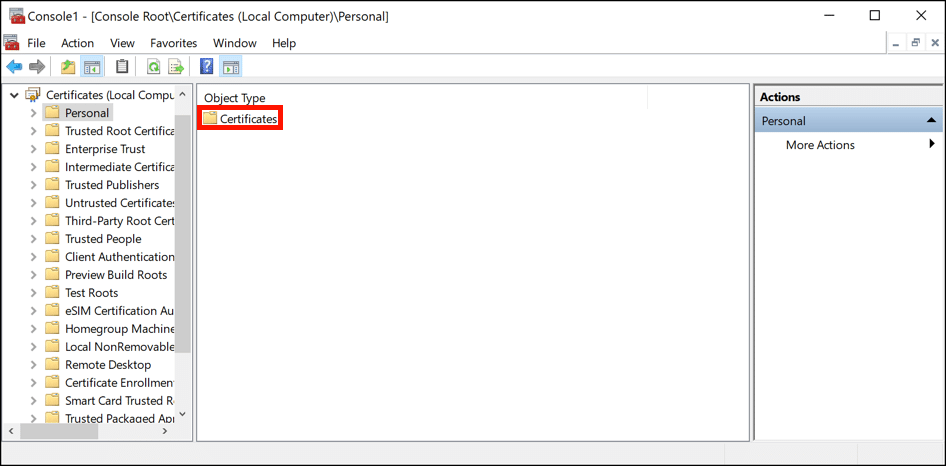
- Open Personal folder.
Double-click the Personal folder to open it.
- Open Certificates.
Double-click the Certificates folder to open it.
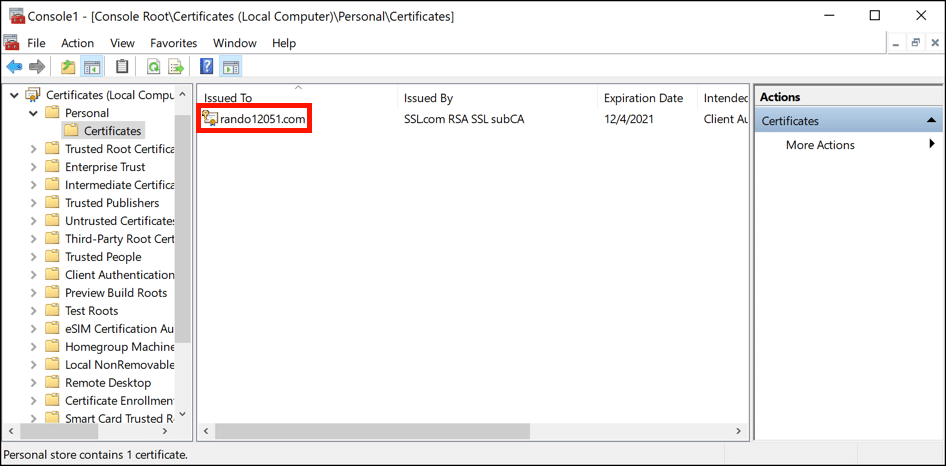
- Locate your certificate.
Locate your website’s certificate in the list. If there are multiple certificates with the same domain name, double-click them and check the validity dates for the most recently issued one.
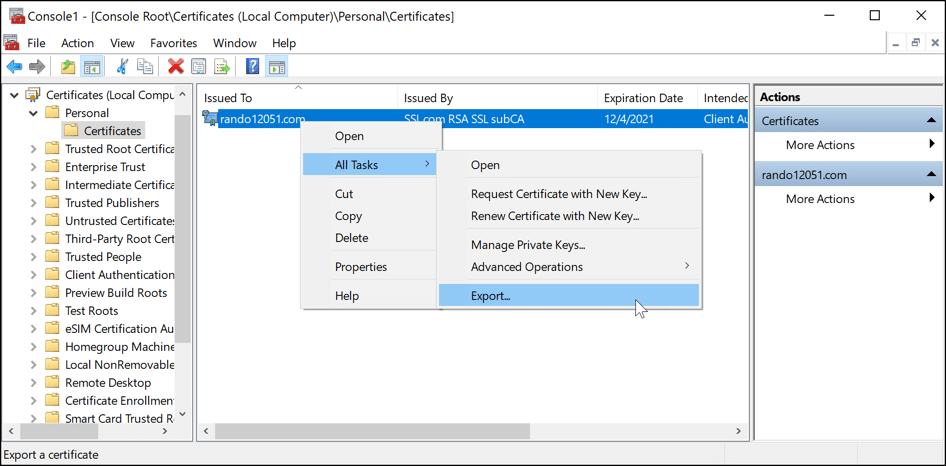
- Begin certificate export.
Right-click the certificate and select All Tasks > Export.
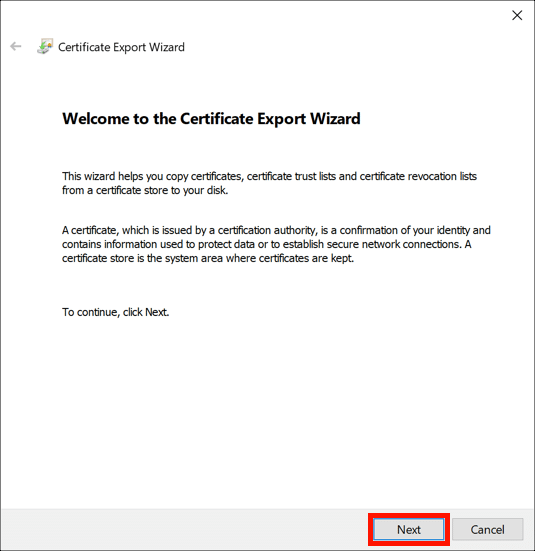
- Click Next.
The Certificate Export Wizard will open. Click the Next button.

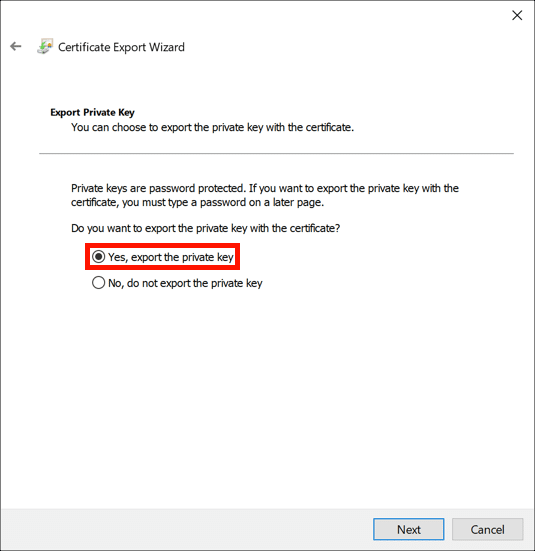
- Export private key.
Select Yes, export the private key, then click the Next button.
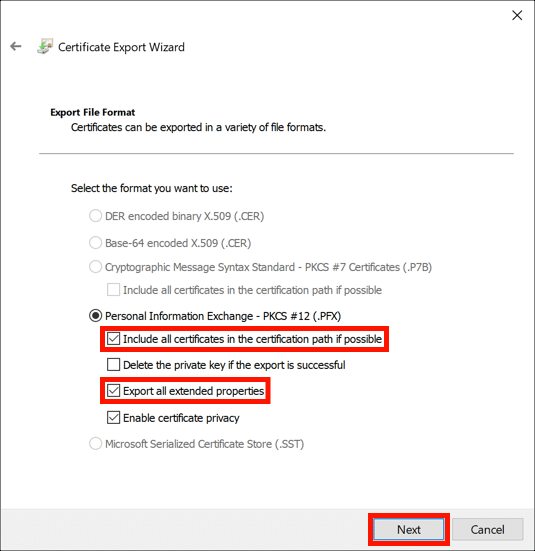
- Select PFX options.
Check Include all certificates in the certification path if possible and Export all extended properties. You can also check Enable certificate privacy if you want the certificates in your PFX file to be encrypted. (The private key will be encrypted in either case.) When you are finished setting the options, click the Next button.
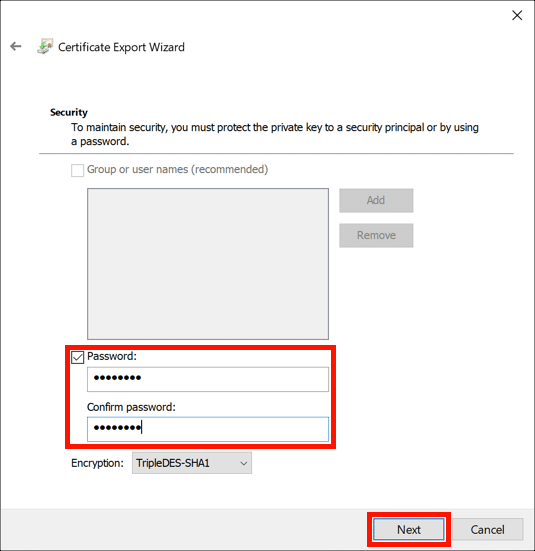
- Create a PFX password.
Check the Password button, create and confirm a password for your PFX file, then click the Next button.
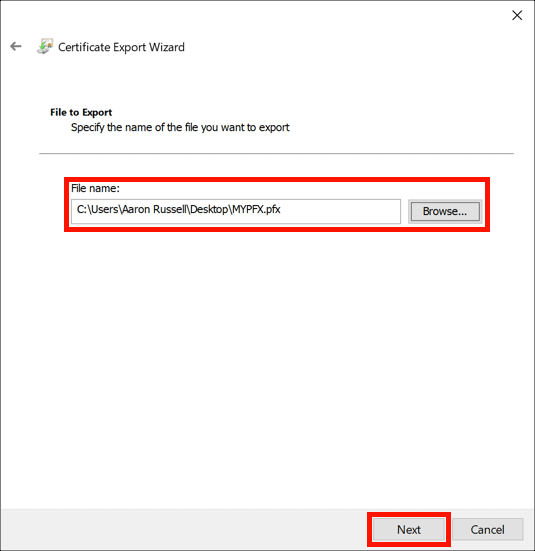
- Create a filename.
Create a filename ending with
.pfxfor your PFX file, then click the Next button.
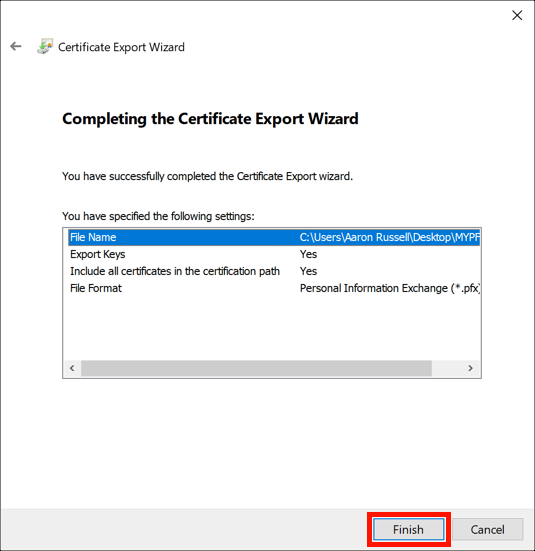
- Finish up.
Click the Finish button, then OK to close the pop-up message that the export was successful. You can also close MMC at this point.
- Done!
You should now have a PFX file with a complete chain of trust and private key for installation on Azure Web Apps (or any other hosting service requiring a PFX file for certificate installation).