This how-to will walk you through generating a certificate signing request (CSR) and placing an SSL/TLS certificate order with SSL Manager, SSL.com’s Windows application for ordering, installing, and managing digital certificates.
If you need to install SSL Manager, just click the button below to download the current installer:
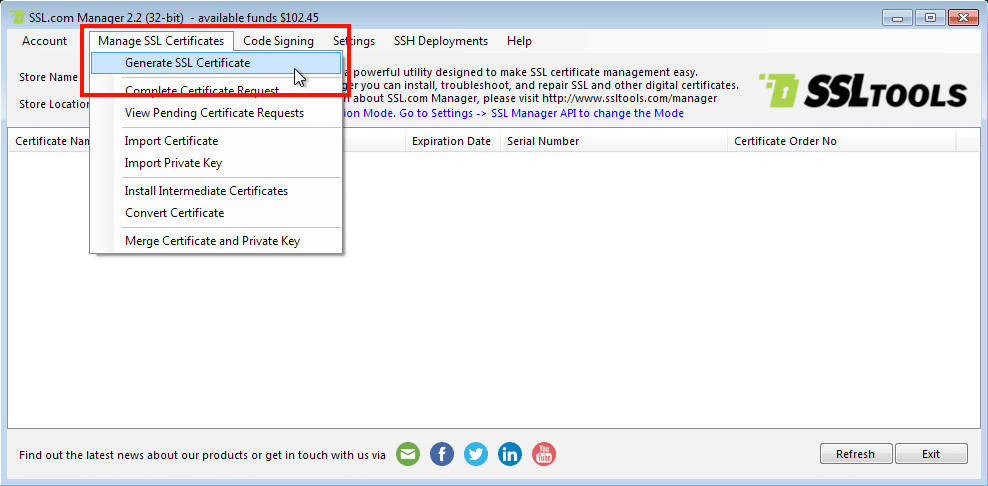
- Sign into your SSL.com account in SSL Manager, then select Manage SSL Certificates > Generate SSL Certificate from the menu bar.

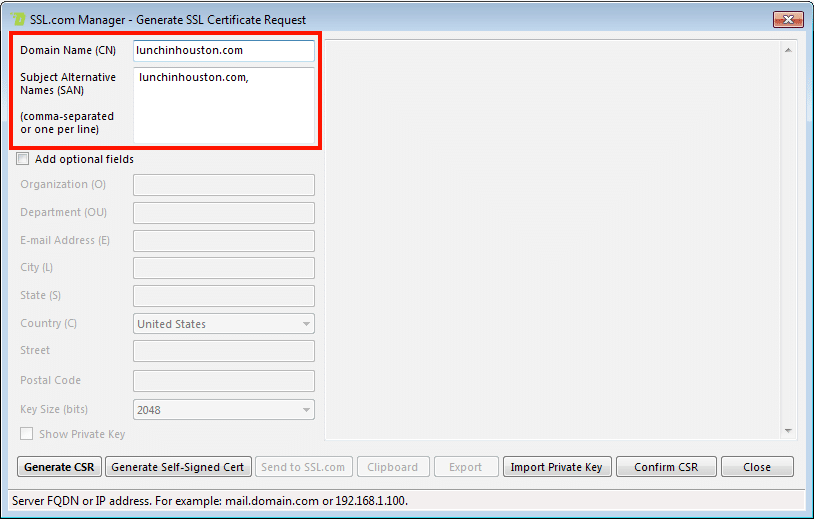
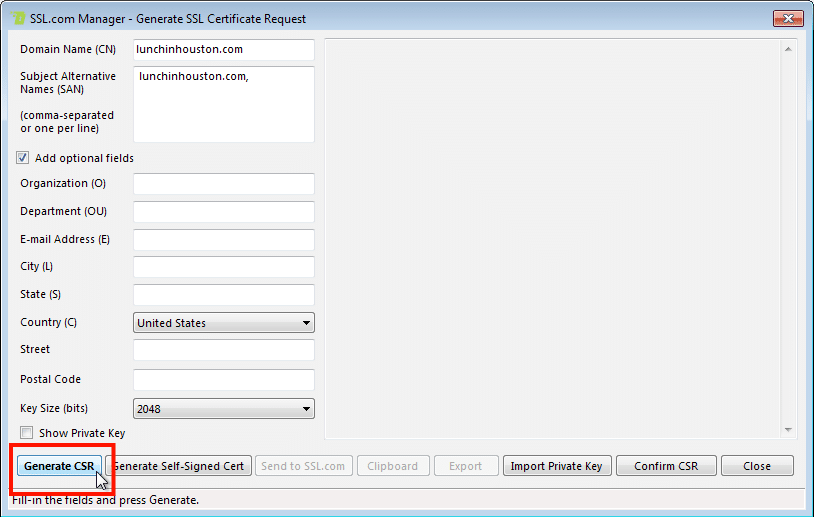
- Enter the Fully Qualified Domain Name name you wish to generate the CSR for in the Domain Name (CN) field. After clicking outside of the field the Subject Alternative Names (SAN) field will automatically be populated with the domain name. Add any additional domain names for the CSR to this field, separated by commas or one per line.

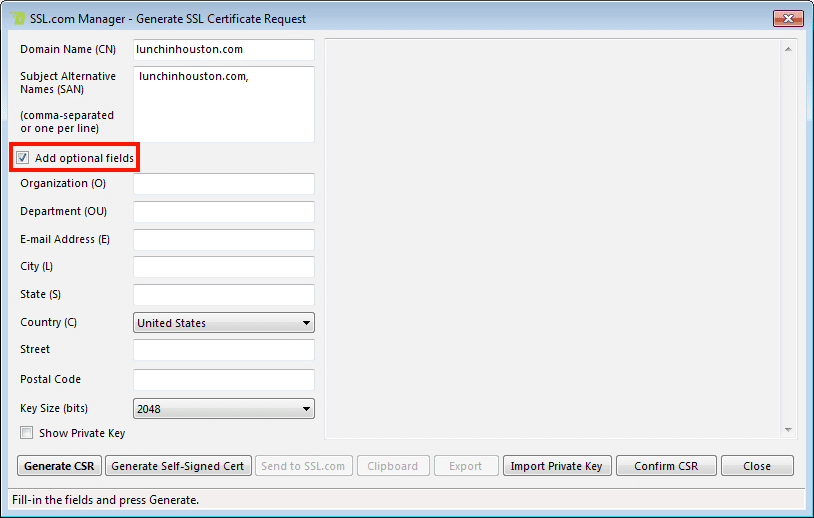
- Checking the Add optional fields checkbox will enable fields for Organization (O), Department (OU), E-mail address (E), City (L), State (S), Country (C), Street, Postal Code, Key Size (bits), and whether or not to display the new private key that will be generated with your CSR.

- Click the Generate CSR button.

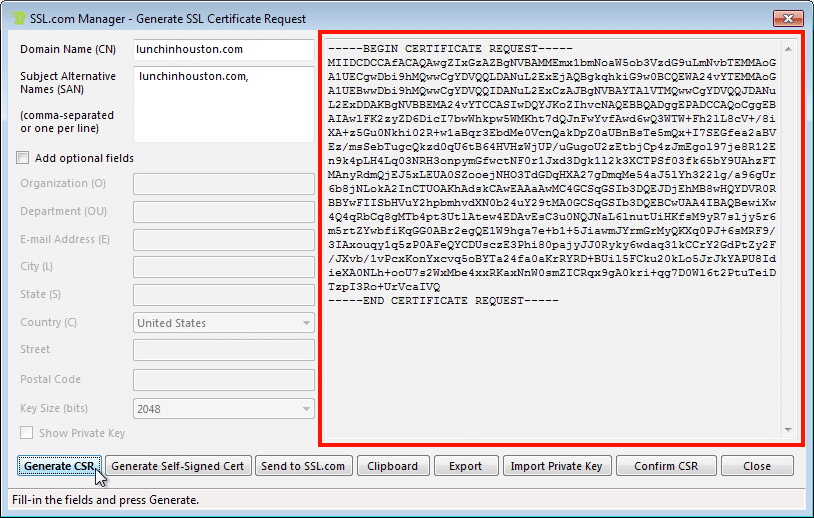
- Your new CSR will appear in the large pane at the right side of the window. If you checked Show Private Key in step 4, your new private key will appear here as well.Note: The private key generated with the CSR will be automatically installed in your system whether or not Show Private Key has been checked.
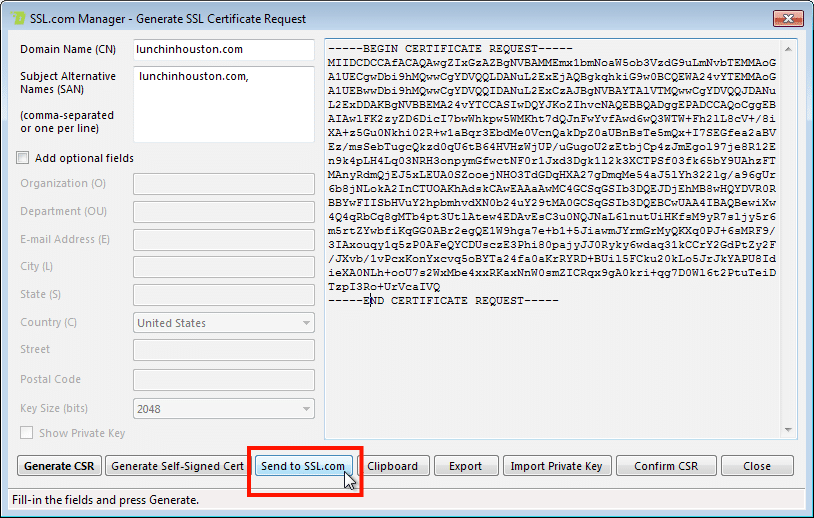
- Click the Send to SSL.com button to open the Place Order screen.
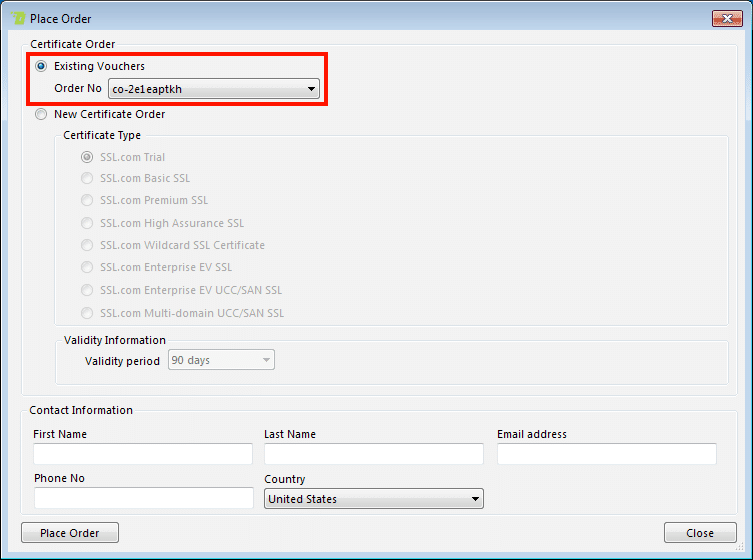
- On the Place Order screen you can either re-process an existing order or create a new one. For existing orders, select the Existing Vouchers radio button and select your order from the drop-down menu.

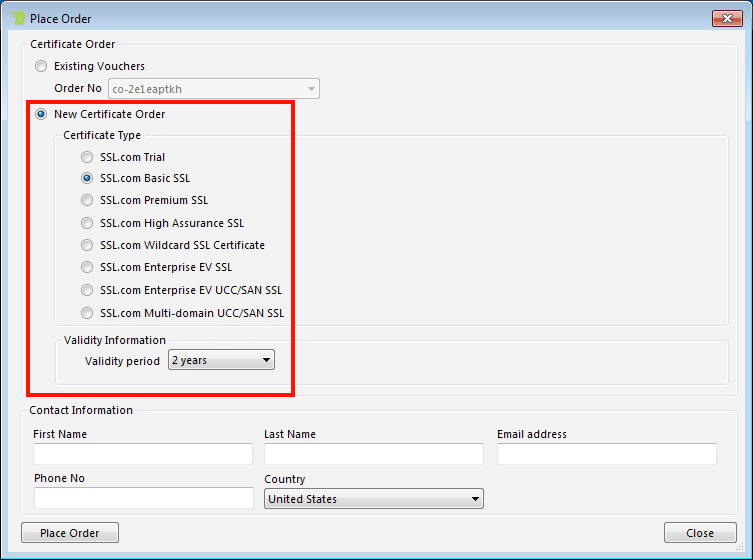
- To create a new order, check the New Certificate Order radio button and select your desired certificate type and validity period.
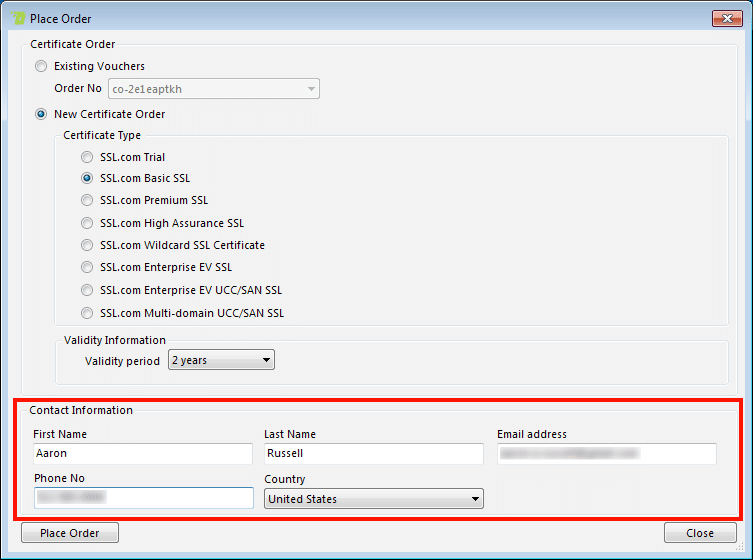
- Enter your contact information at the bottom of the screen.
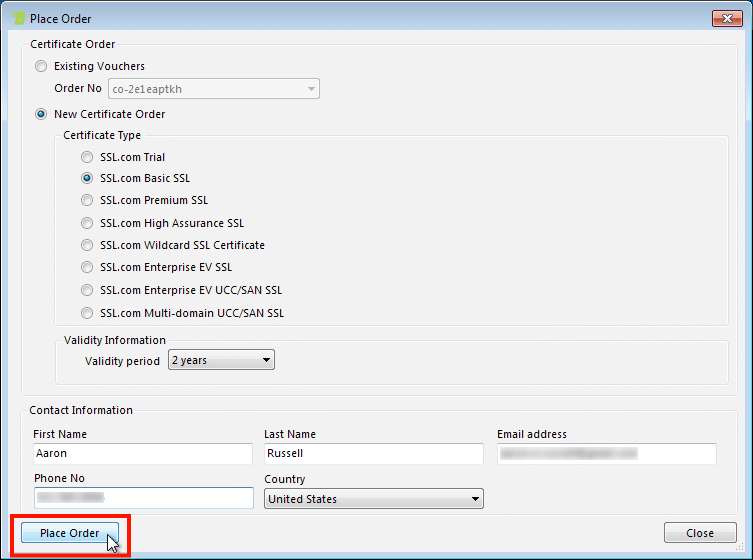
- Click the Place Order button.
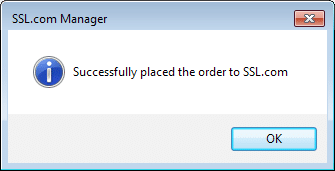
- If everything has gone correctly, a dialog box will appear saying that the order has been successfully placed. Click the OK button to close the box.

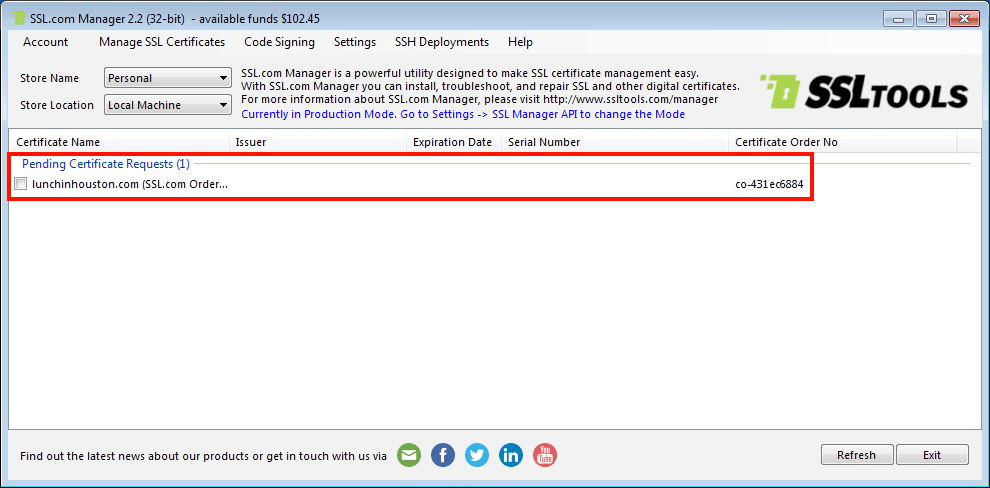
- Your new order will now be shown under Pending Certificate Requests on the main SSL Manager screen.

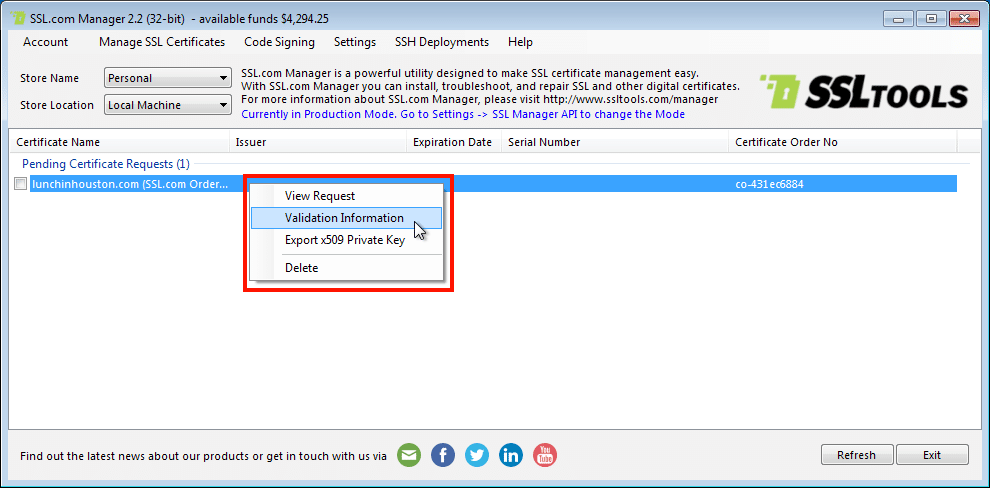
- To validate the request, right-click on the pending certificate request and choose Validation Information from the menu.
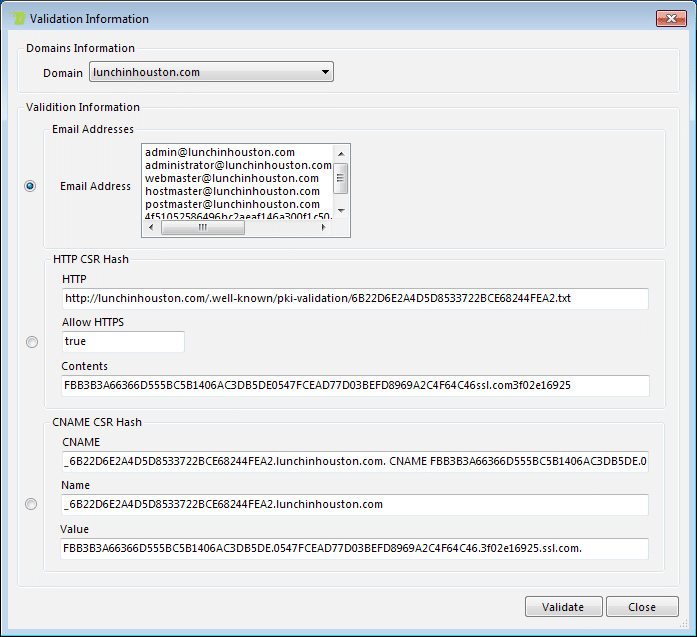
- On the screen that pops up, there are 3 methods available for Domain Validation (DV): Email Address, HTTP CSR Hash, and CNAME CSR Hash.

- Use the clickable tabs below for information on how to validate your domain with each of the three methods:
Email AddressHTTP CSR HashCNAME CSR Hash
Email Address Validation Method
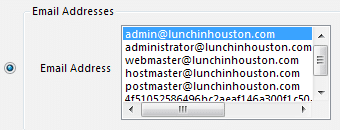
- Select the radio button for the Email Addresses option and choose the email address you wish to use for validation. Only addresses that are acceptable for validation will be available. These are:
- webmaster@
- hostmaster@
- postmaster@
- administrator@
- admin@
- Domain contacts (domain name registrant, technical contact, or administrative contact) listed in the base domain’s WHOIS record.

- Click the Validate button.

- You will receive an email with a validation link. Click the link.

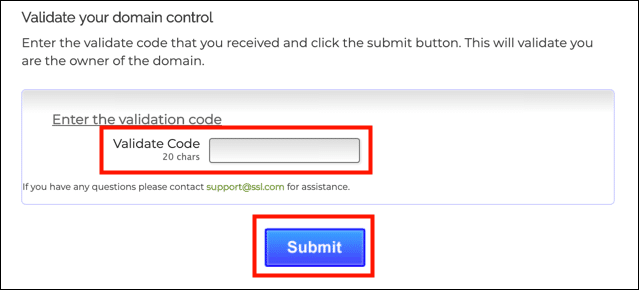
- Enter the validation code from your email in the page that opens in your web browser and click the Submit button.


HTTP CSR Hash Validation Method
- The HTTP CSR Hash method requires that you have the ability to create a file on the web server that is to be protected. Select the radio button for the HTTP CSR Hash option.

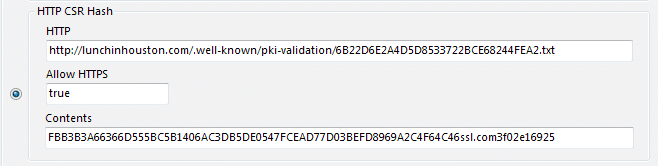
- Copy and paste the contents of the Contents field into a text editor, and save it with the file name shown in the HTTP field.

- Upload the file to your web server in a place where it can be accessed at the URL shown in the HTTP field.

- Click the Validate button. Note: If this is a multi-domain certificate, you can check the Apply to All Domains radio button to apply validation to all of the domains listed in the Subject Alternative Names (SANs) field.

- Click the OK button on the dialog box that pops up.

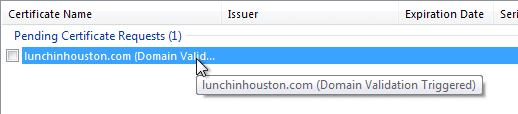
- Your CSR will be shown with a status of Domain Validation Triggered in the main SSL Manager window until validation is complete.


CNAME CSR Hash Validation Method
- The CNAME CSR Hash method requires that you have the ability to create a CNAME entry in the DNS record for the domain that is to be protected. Note that because up to 48 hours may be required for DNS propagation, this validation method may take more time than the email and HTTP methods. Select the radio button for the CNAME CSR Hash option.

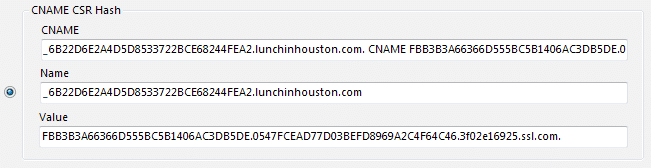
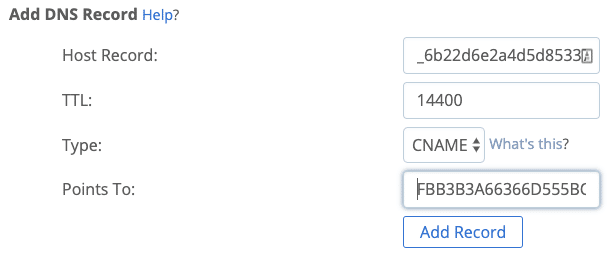
- Create a CNAME entry in which the hostname shown in the Name field points to the hostname shown in the Value field. In this case, we are pointing
_6B22D6E2A4D5D8533722BCE68244FEA2.lunchinhouston.comtoFBB3B3A66366D555BC5B1406AC3DB5DE.0547FCEAD77D03BEFD8969A2C4F64C46.3f02e16925.ssl.com. Note: The procedure for creating DNS entries will vary by registrar and/or web host. This screenshot is from Bluehost. Note: The CNAME record must be prefixed with an underscore (_) for validation to work correctly.
 - After creating the CNAME entry, click the Validate button. Note: If this is a multi-domain certificate, you can check the Apply to All Domains radio button to apply validation to all of the domains listed in the Subject Alternative Names (SANs) field.
- Click the OK button on the dialog box that pops up.
- Your CSR will now be shown with a status of Domain Validation Triggered in the main SSL Manager window. Note: It can take several hours (and occasionally up to 48 hours) for DNS changes to propagate and become available for validation. (whatsmydns.net is a convenient website to use to check the propagation of your new CNAME entry.)
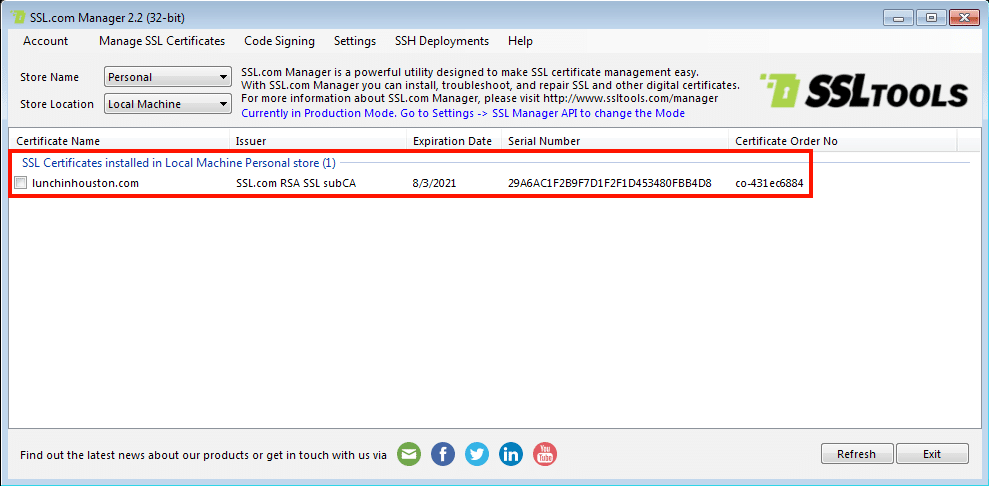
After your CSR has been validated, the main screen of SSL Manager will show the certificate as installed:
Next Steps
For more information on installing your certificate, read here, for binding with IIS 10, read here.
If you have any questions about using SSL Manager or need assistance, please contact us at Support@SSL.com, 1-SSL-Certificate (1-775-237-8434) or just use the Live Chat option at the bottom right of this page. And, as always, thank you for choosing SSL.com!