Time needed: 30 minutes
Binding a certificate to a website in IIS means that you are activating the installed digital certificate and associating it with a particular website, port, and/or IP Address. Binding in IIS can be performed by following these simple steps. (These instructions assume that you have already installed your certificate in IIS.)
- Start IIS Manager.
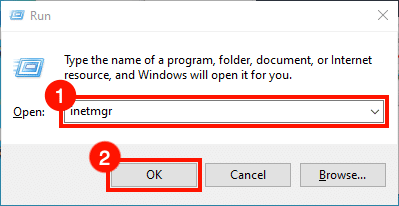
Start IIS Manager. One quick way to do this is by opening the Run command, then typing
inetmgrand clicking the OK button.
- Select website.
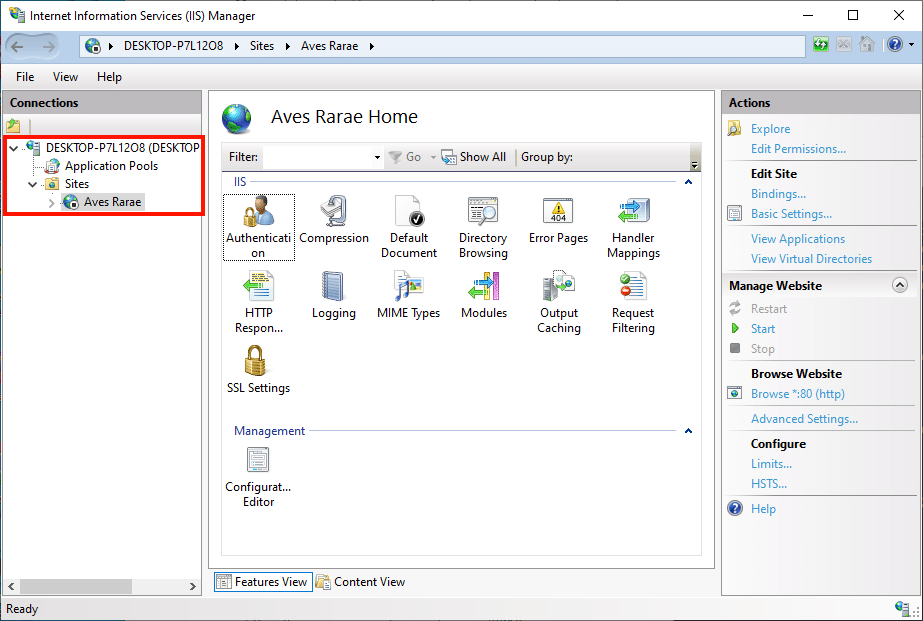
In the Connections pane on the left side of the window, navigate to the Server and Site you wish to bind the certificate to.

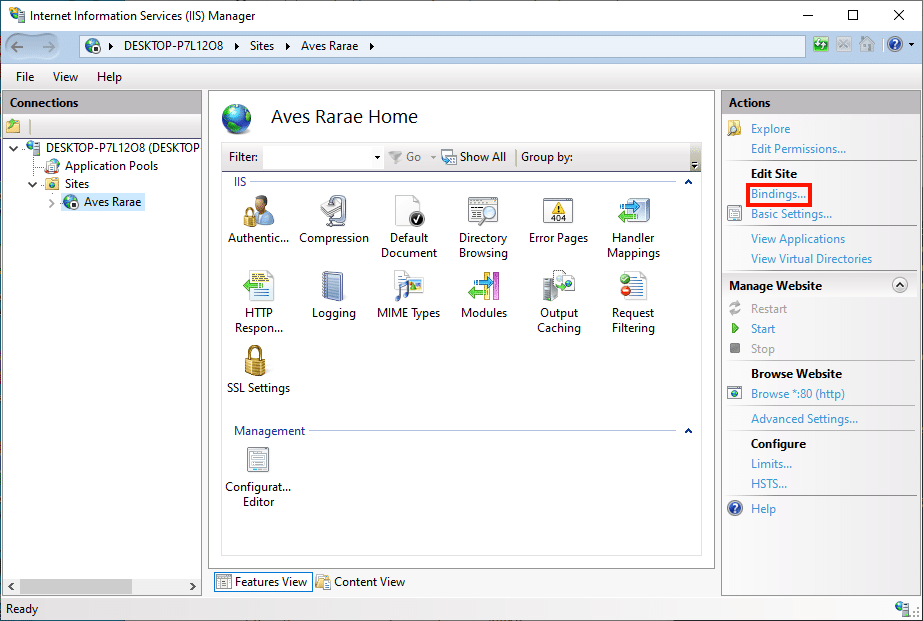
- Open bindings.
- Click Add…
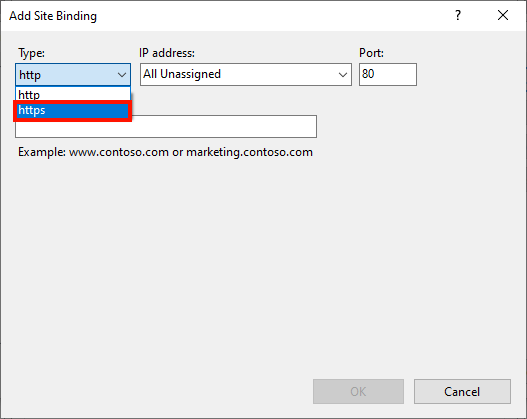
- Select binding type.
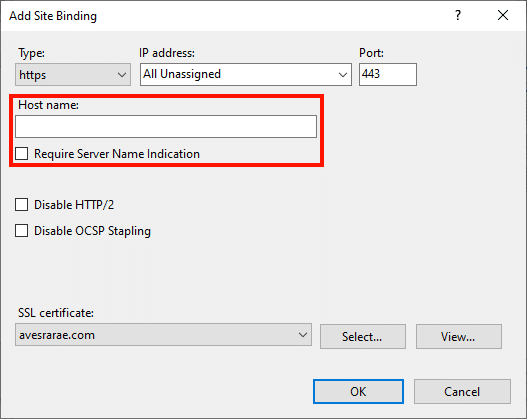
The Add Site Binding window will open. For Type, select
https.
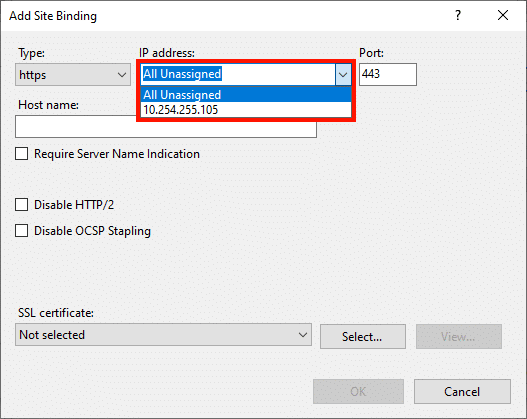
- Select IP address.
For IP address, select
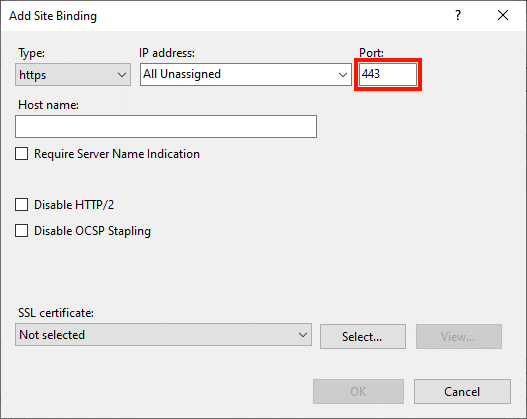
All Unassigned, or the site’s IP address. - Enter port.
For Port, enter
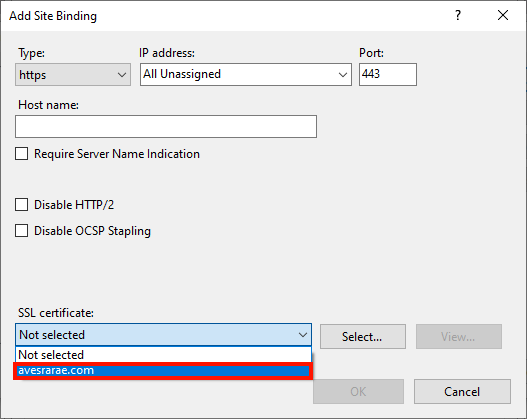
443. - Select certificate
Select the desired certificate from the SSL certificate drop-down menu.
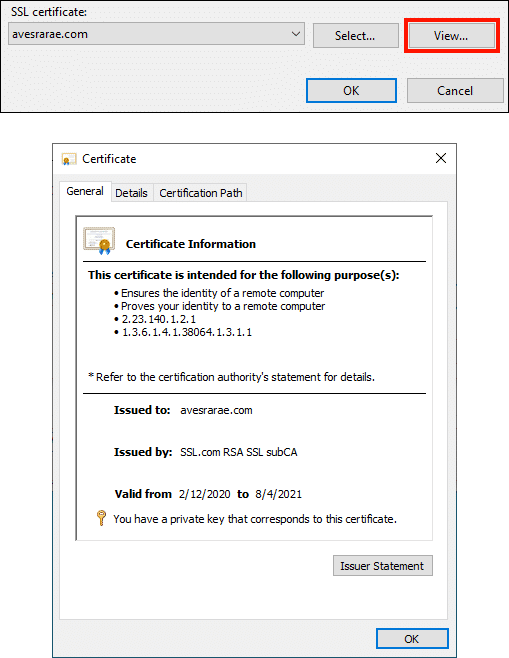
- View certificate details.
You can use the View… button to get details about the selected certificate.

- Require Server Name Indication (SNI) if necessary.
If you are serving more than one domain name from the same IP address, enter it in the Host name field and check the Require Server Name Indication box. If not, you can safely leave these blank.
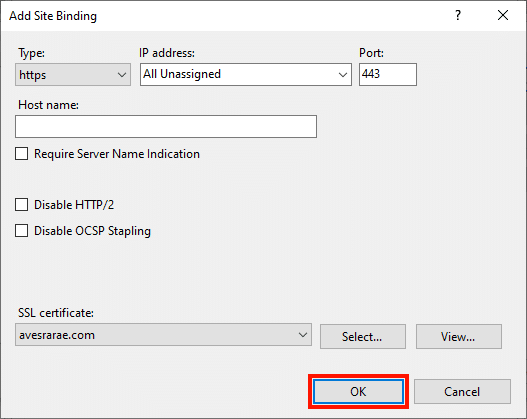
- Close “Add Site Binding” window.
Click the OK button to close the window.
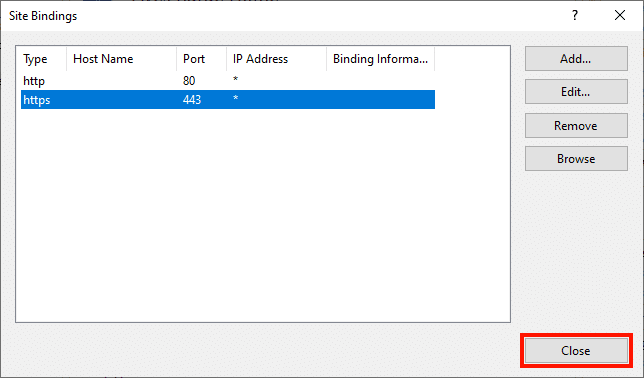
- Close “Site Bindings” window.
Verify that the binding has been added, then close the Site Bindings window by clicking the Close button.

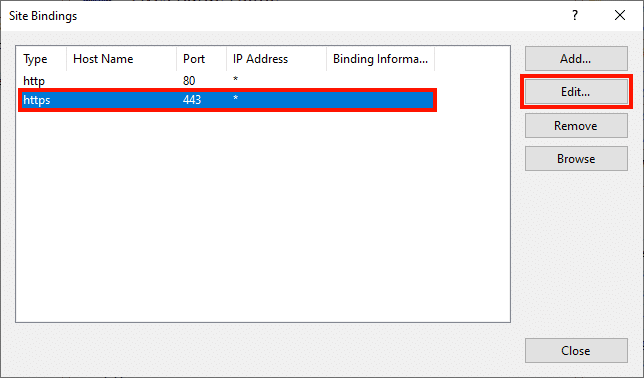
- Edit existing binding (if necessary).
You may can also edit an existing binding. To do this, simply select the item and click Edit. You can change the port, the IP Address, the host name, and the certificate to use.
- Next steps.
Now that you have bound the certificate to your website, you should redirect incoming HTTP traffic to HTTPS.