Filling Out the Information for the Requester, Contract Signer, and Contract Approver for an EV Certificate Order
- You will be asked to fill in the names, email addresses, and contact numbers for 3 entities involving your EV certificate order:
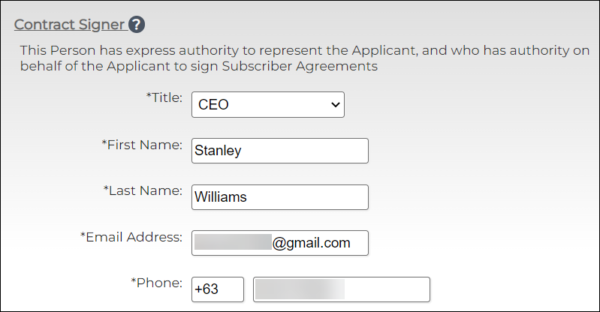
- Contract Signer – This person has express authority to represent the Applicant, and who has authority on behalf of the Applicant to sign Subscriber Agreements. This must be an Officer of the Organization, such as CEO, President, Corporate Secretary, Treasurer, Vice-President, COO, CIO, CFO, CSO, Managing Member, Director, or Department Head, etc. The Contract Signer will be considered to hold all roles, but you may also add other individuals to specific roles.

- Certificate Requester – This Person completes and submits an EV Certificate Request on behalf of the Applicant.

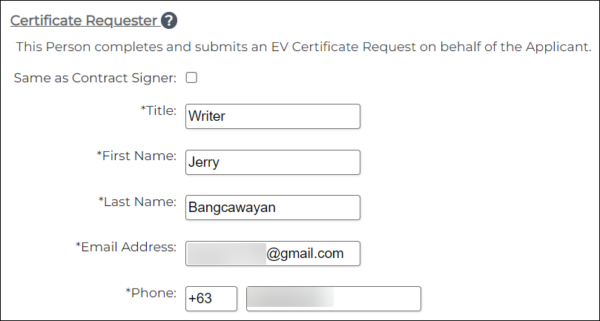
If the Certificate Requester is the same as the Contract Signer, check the box beside Same as Contract Signer.
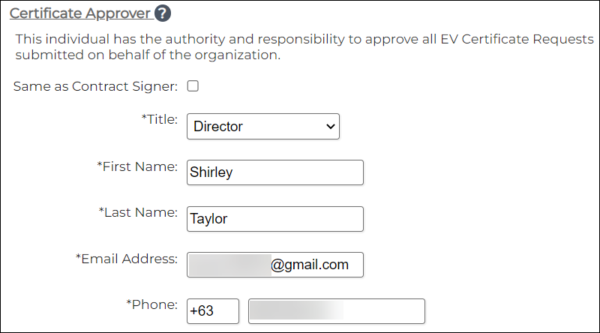
If the Certificate Approver is the same as the Contract Signer, check the box beside Same as Contract Signer.
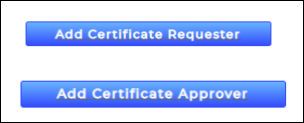
If there are multiple certificate requesters and approvers, click the Add Certificate Requester and Add Certificate Approver button and then fill out their information.
Identity Verification for New SSL.com Accounts
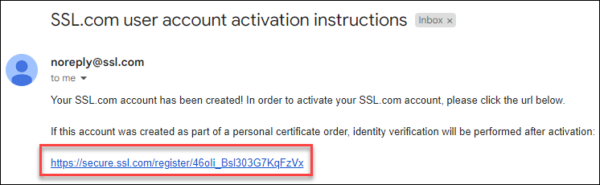
For Contract Signers and Contract Approvers who do not have existing SSL.com accounts, they will be sent email messages allowing them to create accounts and then have these verified through Jumio. The instructions are detailed below.Creating an SSL.com Account
- Open the email containing the link which allows you to create an SSL.com account.

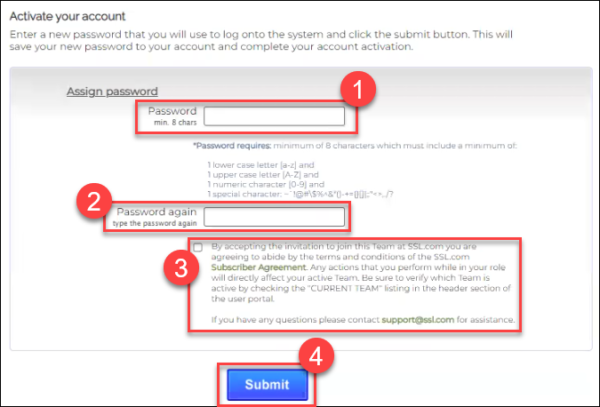
- You will be directed to a page allowing you to create the password for your account. Check that your password follows the minimum requirements and make sure to save it in a secure location. Re-type your password in the Password again field. Check the box beside the statement that asks your agreement to abide by the terms and conditions of the SSL.com Subscriber Agreement. Finally, click the Submit button.

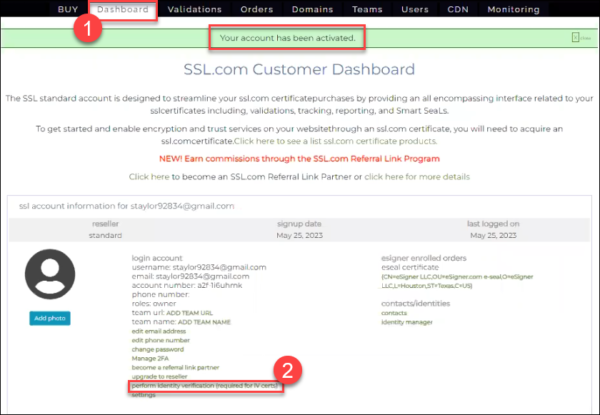
- You will then be logged in to your newly-created SSL.com account and a message will show indicating that your account has been successfully activated.


Conducting Identity Verification through Jumio
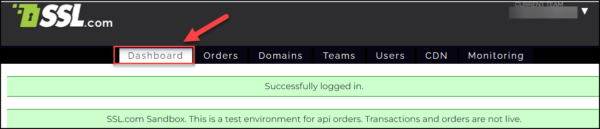
- Select the Dashboard tab on the top menu. This will show your account information. Next, scroll down & click the perform identity verification (required for IV certs) link.

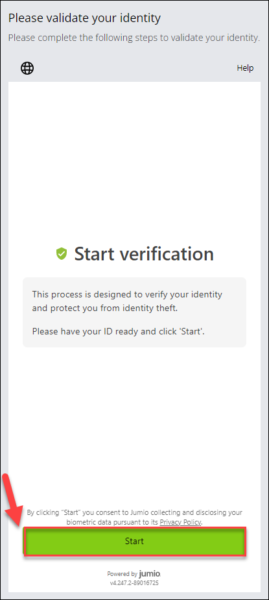
- You will be directed to the verification page. Click the Start button. By clicking “Start” you consent to Jumio collecting and disclosing your biometric data pursuant to its Privacy Policy.

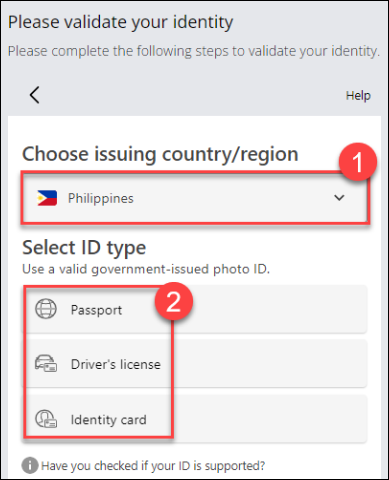
- Specify the country where your ID is issued then select which type of government-issued ID you will use for the verification process.

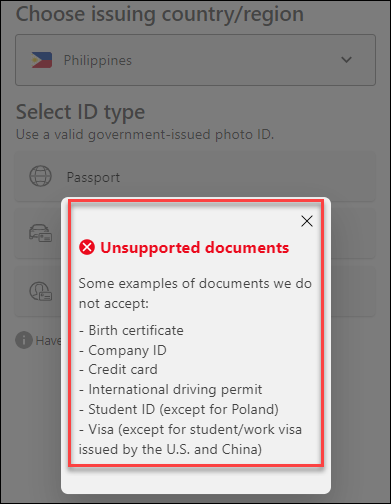
- If you are not sure if your ID is acceptable, you can click this link in the page: Have you checked if your ID is supported? Upon clicking the link, Jumio will show a list of IDs that it does not accept.


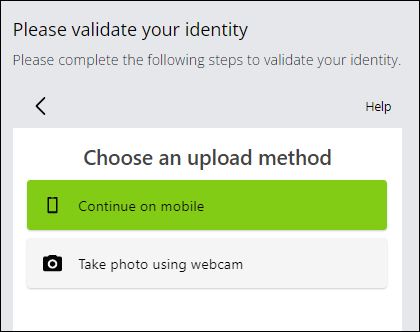
- Choose if you want to proceed on desktop or mobile. If your mobile phone can capture higher-quality images than your desktop web camera, it would be better to proceed on mobile so that Jumio can accept the images of your ID and your selfie for processing.

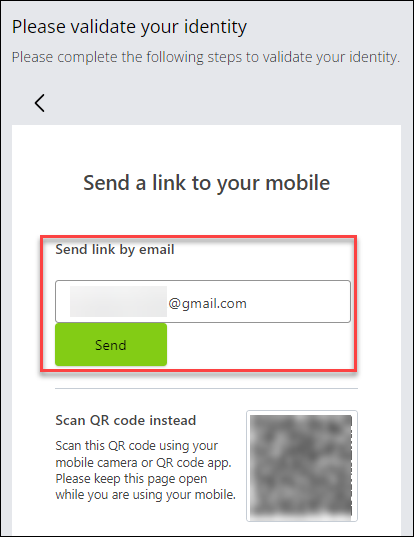
- Place the email where you want the Jumio verification link to be sent and then click the Send button. Afterwards, keep this page open and open a new tab on your browser to check your email (for desktop users) or open the email on your mobile phone (for mobile users).

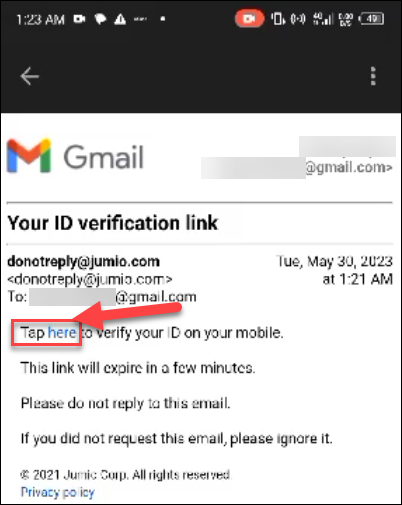
- Open the ID verification email from Jumio and click the here link to take you to the verification page.

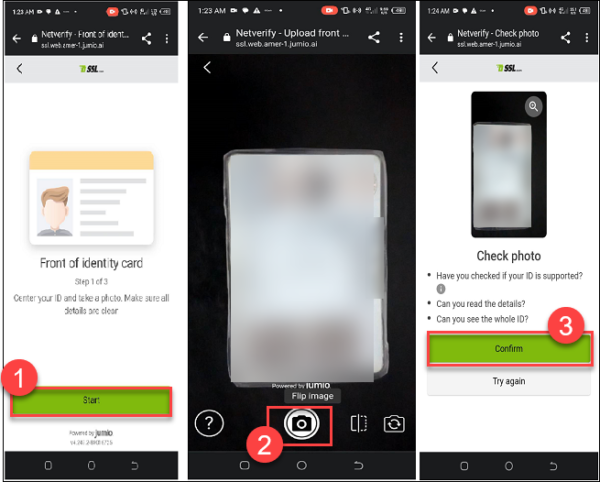
- Prepare your ID and click the Start button.

- Jumio will require you to take a picture of your ID. If the type of ID you selected has a front and back side, Jumio will require pictures of both. Click Start. Center your ID, make sure all details are clear and click the button for capturing the image. Afterwards, click the Confirm button. Jumio will inform you if the image is blurry or unacceptable in which case, click the Try again button to recapture the image.

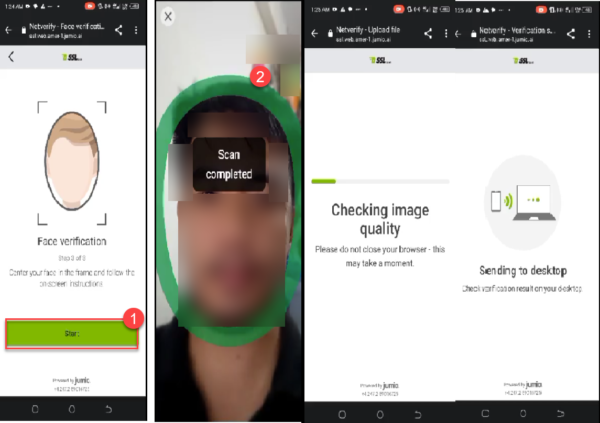
- After requiring photo/s of your ID, Jumio will then prompt you to take a picture of your face. Make sure that the contours of your face are captured in the frame. Jumio will analyze the biometric data and check the image quality. If it is acceptable for processing, the verification result will be sent to your desktop, on the browser page where you first opened Jumio.

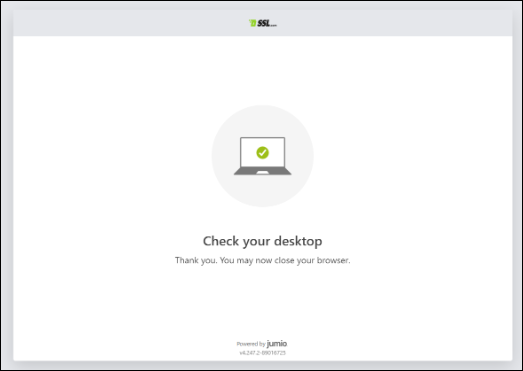
- Go back to the verification page on your desktop browser. There, Jumio will provide a notification if the page can now be closed.

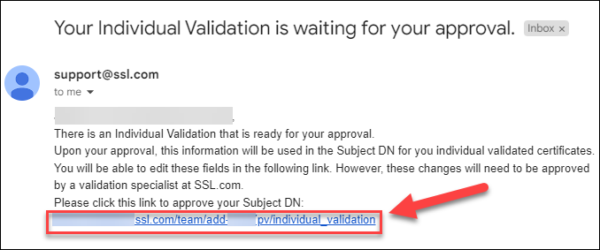
- Upon completion of the Jumio identity verification, SSL.com will then analyze the data. The approval of the Jumio verification includes an approval from SSL.com followed by a cross-approval from the user/subject. When SSL.com issues the approval, an email will be sent to the user with a link that allows him/her to finalize the first and last name that will be associated with the SSL.com account.

- Upon completion of the cross-approval by the user, SSL.com will send an email confirming the successful identity verification.


Approving the Online EV Request Form and Signing the Online EV Subscriber Agreement
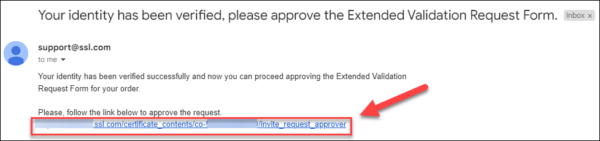
After successful verification of the newly-created SSL.com accounts, SSL.com will send emails containing links that will allow the Contract Signer to sign the Extended Validation Subscriber Agreement and for the Contract Approver to approve the Extended Validation Request Form. Both users should be logged in to their SSL.com accounts before being able to sign the online documents.Contract Approver
- Login to your SSL.com account.
- Open the email from SSL.com and click the link for approving the Extended Validation Request Form.

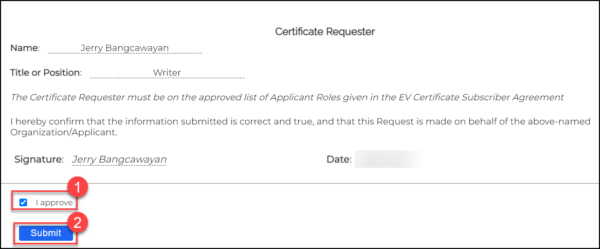
- Upon clicking the link, you will be directed to the online EV Certificate Request form. After reading all the contents, scroll down the page, check the box for I approve, and then click the Submit button.

- You will then be directed to the Dashboard of your SSL.com account and be notified if the EV request form has been approved successfully.


Contract Signer
- Open your internet browser and login to your SSL.com account.
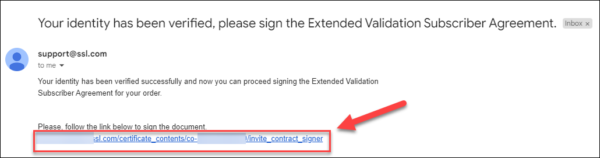
- On another tab, login to your email account and open the email from SSL.com containing the link for signing the Extended Validation Subscriber Agreement.

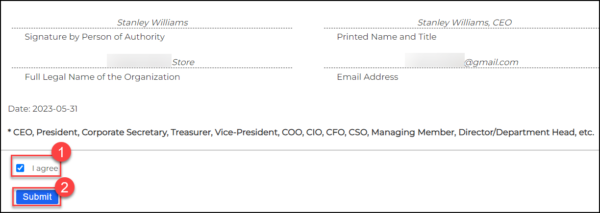
- Read the contents of the online Extended Validation Subscriber Agreement form. Scroll down, check the box for I agree, and then click the Submit button.

- Upon clicking the Submit button, you will be redirected to your SSL.com account dashboard and you will be notified that the EV Subscriber Agreement has been signed successfully.


Sandbox Testing for the online EV Subscriber Agreement and EV Request Form
For users who want to try signing the online EV Subscriber Agreement and approving the online EV Request Form using a test certificate, the SSL.com sandbox offers a place where they can freely experiment.- The Certificate Requester should login to his/her sandbox account at https://sandbox.ssl.com/login. If there is no sandbox account yet, a new one can be created at https://sandbox.ssl.com/users/new.
- Once logged in to the sandbox account, click the Dashboard tab.

- Scroll down to the developers and integration section and click the developer tools link.

- Select the test EV certificate you want to order. Specify the validity duration of the certificate. Finally, click the Create Test Order button.

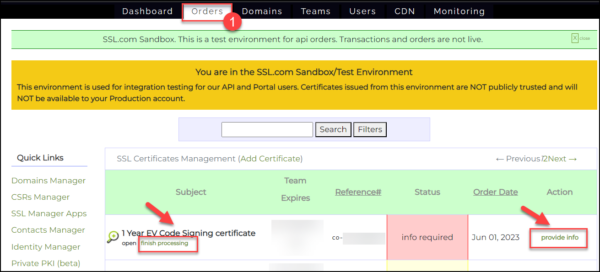
- You will be directed to the Orders tab. Click the finish processing link under the Subject column or the provide info link under the Action column.

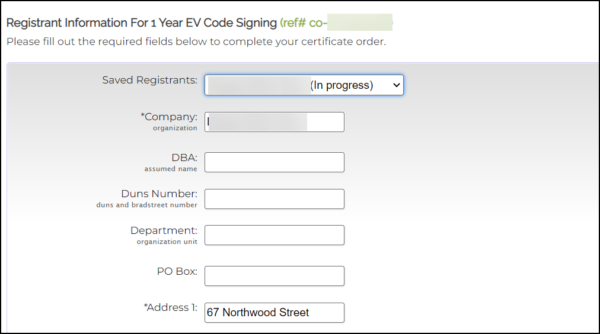
- Fill out all the required fields for the Registrant Information, marked by an asterisk *. The required fields include: Company, Address 1, Country, City/town/locality, Postal Code, Registered Country, and Registration Number.Once you have filled out all the required fields, click the Next >> button.


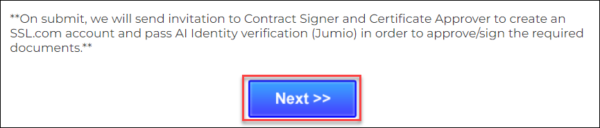
- From here on, the process is the same as for production orders. Fill out the required information for the Contract Signer, Contract Requester, and Certificate Approver. Finally, click the Next >> button to:
- receive email instructions on how to activate SSL.com accounts for the Contract Signer and Certificate Approver. Once their SSL.com accounts have been activated and verified through Jumio, they will be emailed the links to approve the online Extended Validation Request Form and sign the online Extended Validation Subscriber Agreement.
- receive links to approve the EV Request Form and sign the EV Subscriber Agreement (for already existing and verified SSL.com sandbox accounts).