
Mozilla Thunderbird users may have noticed that S/MIME certificates installed on a YubiKey hardware token are not immediately available for use in Thunderbird. Even though the YubiKey’s smart card features are supported by the underlying OS on both Windows and macOS, Thunderbird requires an additional open-source PKS#11 driver (OpenSC) to access certificates and keys stored on the device. This how-to will show you how to configure Thunderbird to work with OpenSC and your YubiKey on Windows and macOS.
Linux users can basically follow the macOS instructions below, but installation instructions and the location of the
pkcs11.so file will vary between Linux distributions. On 64-bit Ubuntu 18.4, the path is /usr/lib/x86_64-linux-gnu/opensc-pkcs11.so. For more information, please refer to the OpenSC Project’s pages on Linux Distributions and Compiling and Installing on Unix Flavors.Note: These instructions assume that you have installed an encryption-enabled S/MIME certificate in the Key Management slot (9c) of your YubiKey. If you have not done so already, please refer to our how-to covering this operation.
Windows Instructions
- Install OpenSC by following the instructions in OpenSC’s Windows Quick Start.
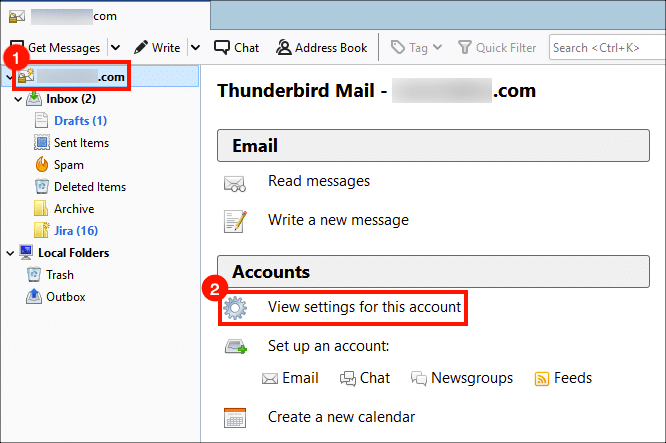
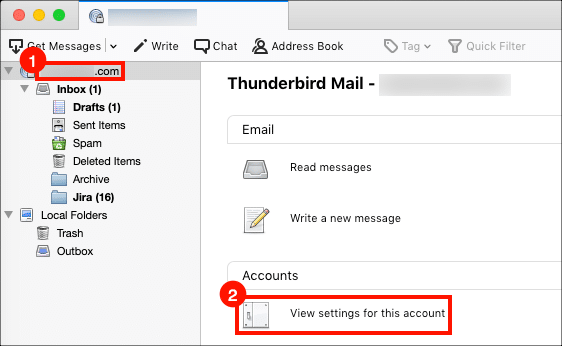
- In Thunderbird’s main window, select the account you want to add certificates for, then click View settings for this account.
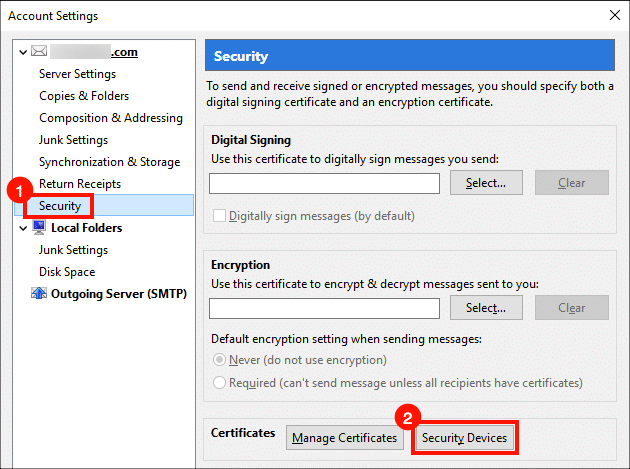
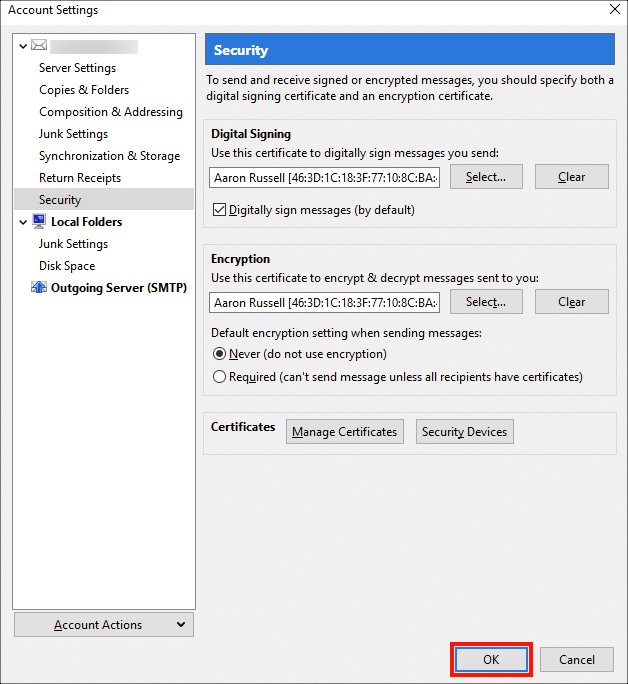
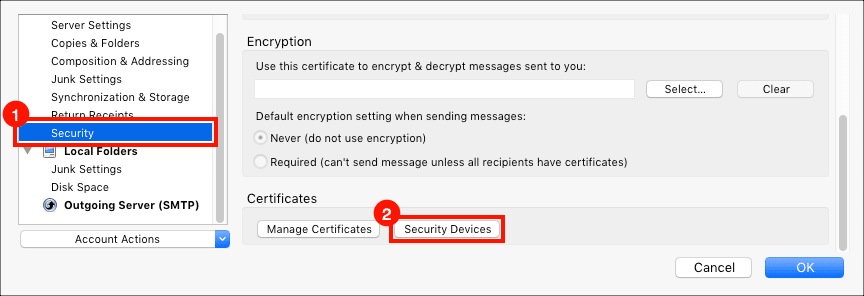
- Select Security in the left-hand menu, then click the Security Devices button, under Certificates.
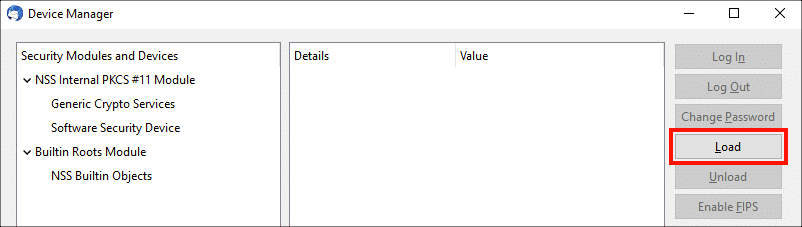
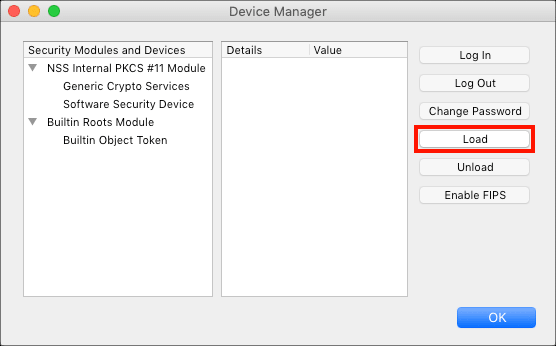
- Click the Load button.
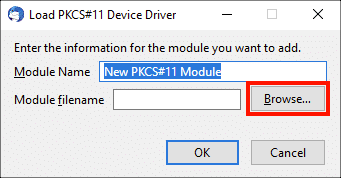
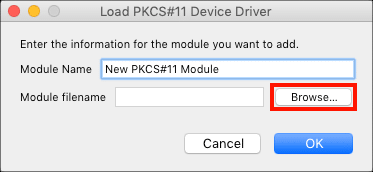
- Click the Browse button.
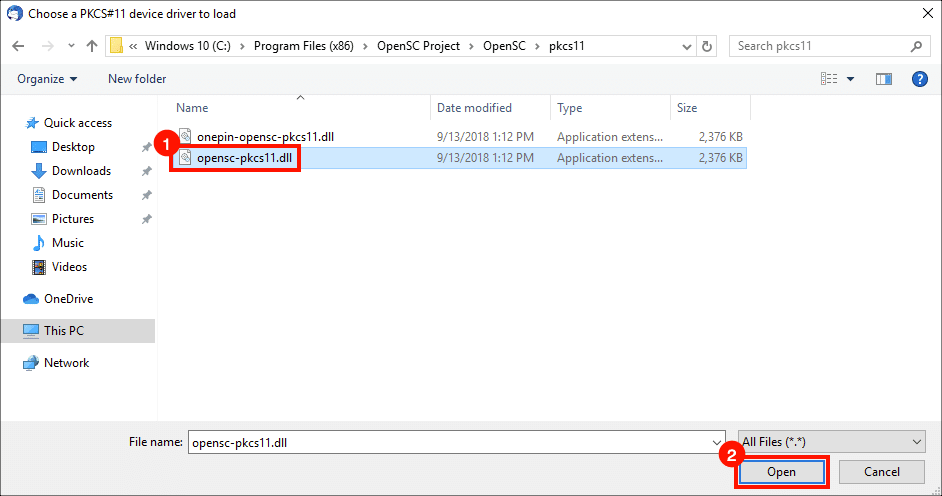
- In the file open dialog, navigate to the correct library for your versions of Windows and Thunderbird, then click the Open button.
- 32 bit Windows and Thunderbird:
C:\Program Files\OpenSC Project\OpenSC\pkcs11\opensc-pkcs11.dll - 32 bit Thunderbird on 64 bit Windows:
C:\Program Files (x86)\OpenSC Project\OpenSC\pkcs11\opensc-pkcs11.dll - 64 bit Windows and Thunderbird:
C:\Program Files\OpenSC Project\OpenSC\pkcs11\opensc-pkcs11.dll
- 32 bit Windows and Thunderbird:
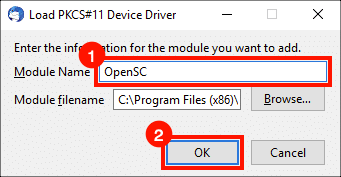
- Type a name in the Module Name field (“OpenSC” is a logical choice), then click the OK button to close the dialog box.
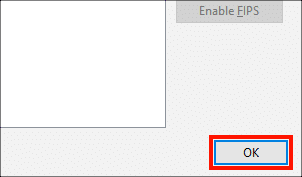
- Click the OK button to close the Device Manager window.
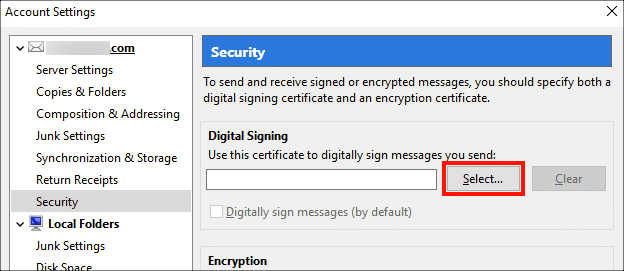
- Click the Select button, under Digital Signing.
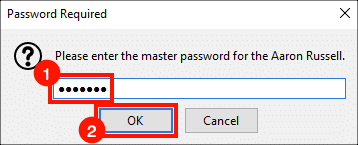
- Enter your YubiKey PIN, then click the OK button. For information on finding your PIN, please refer to this how-to.
- Select the certificate labeled
Certificate for Key Managementfrom the Certificate drop-down menu.Note: If you do not see a certificate labeled for Key Management, please refer to our how-to on installing an S/MIME certificate on your Yubikey.
- Verify that the
SigningandKey Enciphermentkey usages are shown in the certificate details, then click the OK button.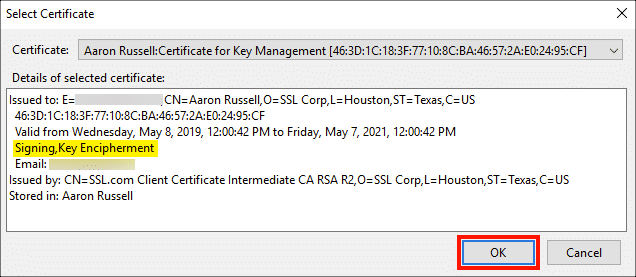
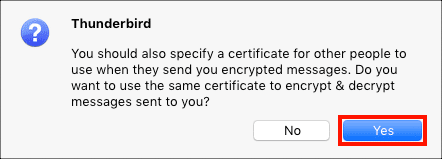
- A dialog box will appear asking if you want to use the same certificate for encryption and decryption. Click the Yes button.

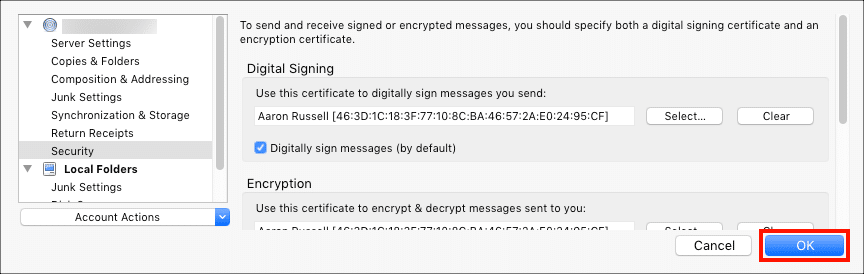
- Click the OK button to close the account settings. If you’d like, you can set the default message signing and encryption settings first.
- You’re all finished! Note that with these settings you will need your YubiKey and PIN to sign, encrypt, and decrypt email. To protect yourself against data loss in the event of the loss of your YubiKey, make sure that you keep a backup of your private key in a secure location.
macOS Instructions
- Install OpenSC by following the instructions in OpenSC’s macOS Quick Start.
Note: Homebrew users can easily install OpenSC with the command
brew install opensc. If you choose this option, note that the OpenSC files will be installed in/usr/local/lib/rather than/Library/OpenSC/lib. - In Thunderbird’s main window, select the account you want to add certificates for, then click View settings for this account.
- Select Security in the left-hand menu, then click the Security Devices button, under Certificates.
- Click the Load button.
- Click the Browse button.
- In the file open dialog, navigate to the directory
/Library/OpenSC/lib/, select the fileopensc-pkcs11.so, then click the Open button.Mac users who installed OpenSC with Homebrew will find the file at/usr/local/lib/opensc-pkcs11.so. You will need to press Command+Shift+Period to see the/usr/directory in the file open dialog box.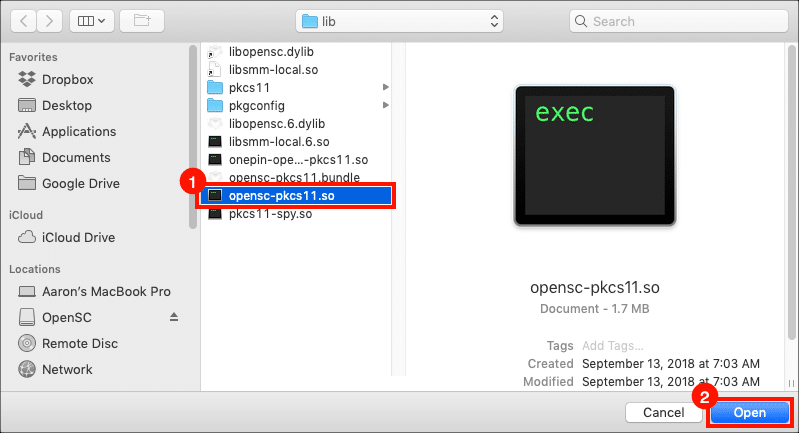
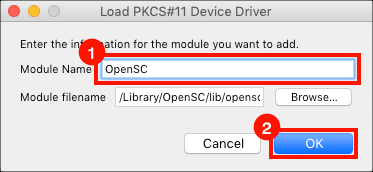
- Type a name in the Module Name field (“OpenSC” is a logical choice), then click the OK button to close the dialog box.
- Click the OK button to close the Device Manager window.
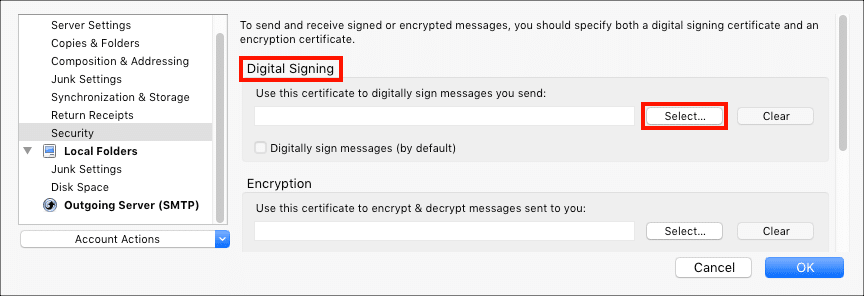
- Scroll back up in the left-hand pane and click the Select button under Digital Signing.
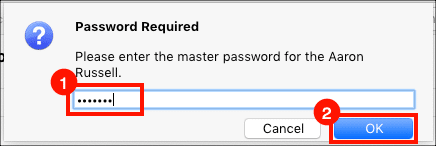
- Enter your YubiKey PIN, then click the OK button.
- Select the certificate labeled
Certificate for Key Managementfrom the Certificate drop-down menu.Note: If you do not see a certificate labeled for Key Management, please refer to our how-to on installing an S/MIME certificate on your Yubikey.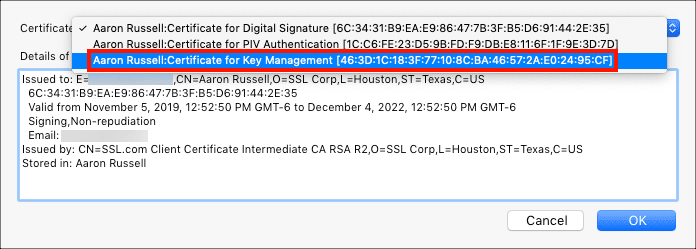
- Verify that the
SigningandKey Enciphermentkey usages are shown in the certificate details, then click the OK button.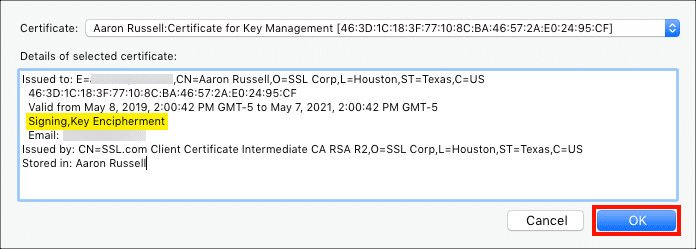
- A dialog box will appear asking if you want to use the same certificate for encryption and decryption. Click the Yes button.
- Click the OK button to close the account settings. If you’d like, you can set the default message signing and encryption settings first.
- You’re all finished! Note that with these settings you will need your YubiKey and PIN to sign, encrypt, and decrypt email. To protect yourself against data loss in the event of the loss of your YubiKey, make sure that you keep a backup of your private key in a secure location.
Thank you for choosing SSL.com! If you have any questions, please contact us by email at Support@SSL.com, call 1-877-SSL-SECURE, or just click the chat link at the bottom right of this page. You can also find answers to many common support questions in our knowledgebase.